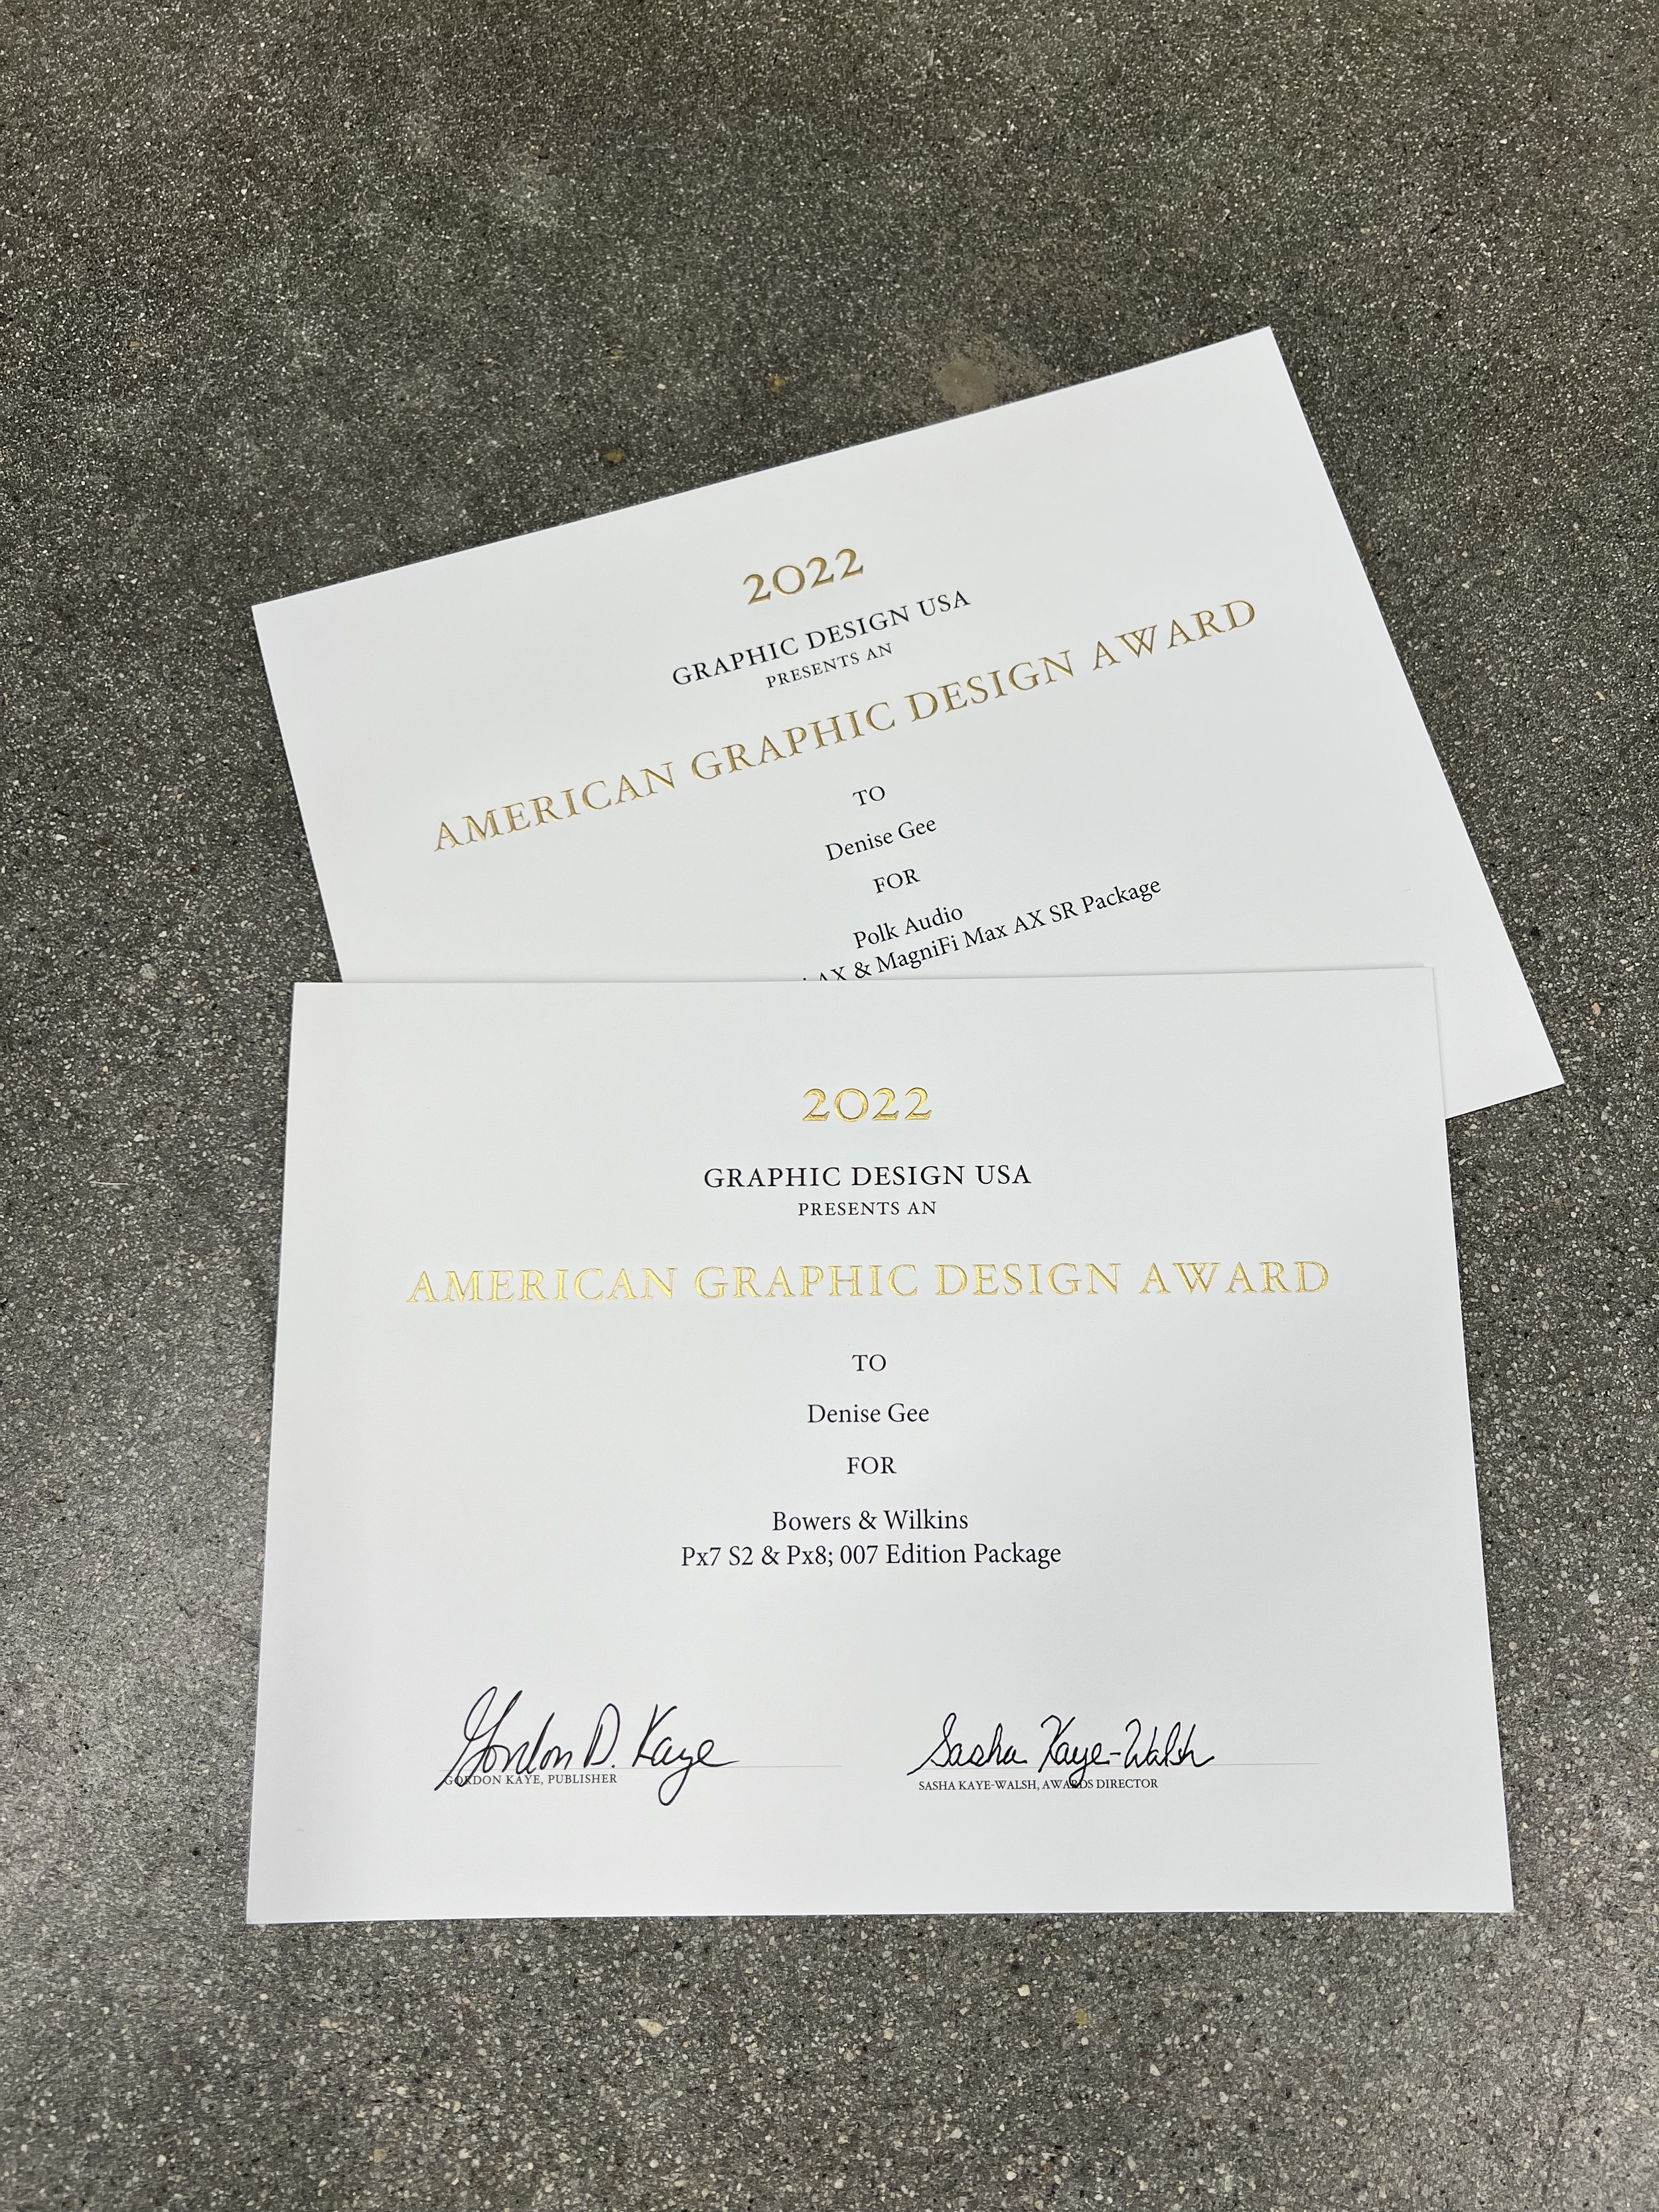
Extremely pleased my colleagues and I have received these awards from https://gdusa.com for our recent Audio Packaging work:
You can view my latest work for my audio projects here:
Extremely pleased my colleagues and I have received these awards from https://gdusa.com for our recent Audio Packaging work:
You can view my latest work for my audio projects here:
It was my colleague’s 10 year work anniversary and I really wanted to try and etch a whiskey bottle! The problem was that I had never done this before.
Here’s my step by step process where I share with you how I accomplished the final result.
I had remembered that my colleague liked “Wild Turkey” from a previous team happy hour so I took note of that. I made my way to Total Wine (which is like BevMo if you’ve never heard of it) but the selection is better, the experience is nicer, and their app has rewards and coupons!
Step 1: Going to the store
I found about 3 different Wild Turkey bottles and the main thing that I was looking for in a bottle was a flat surface.
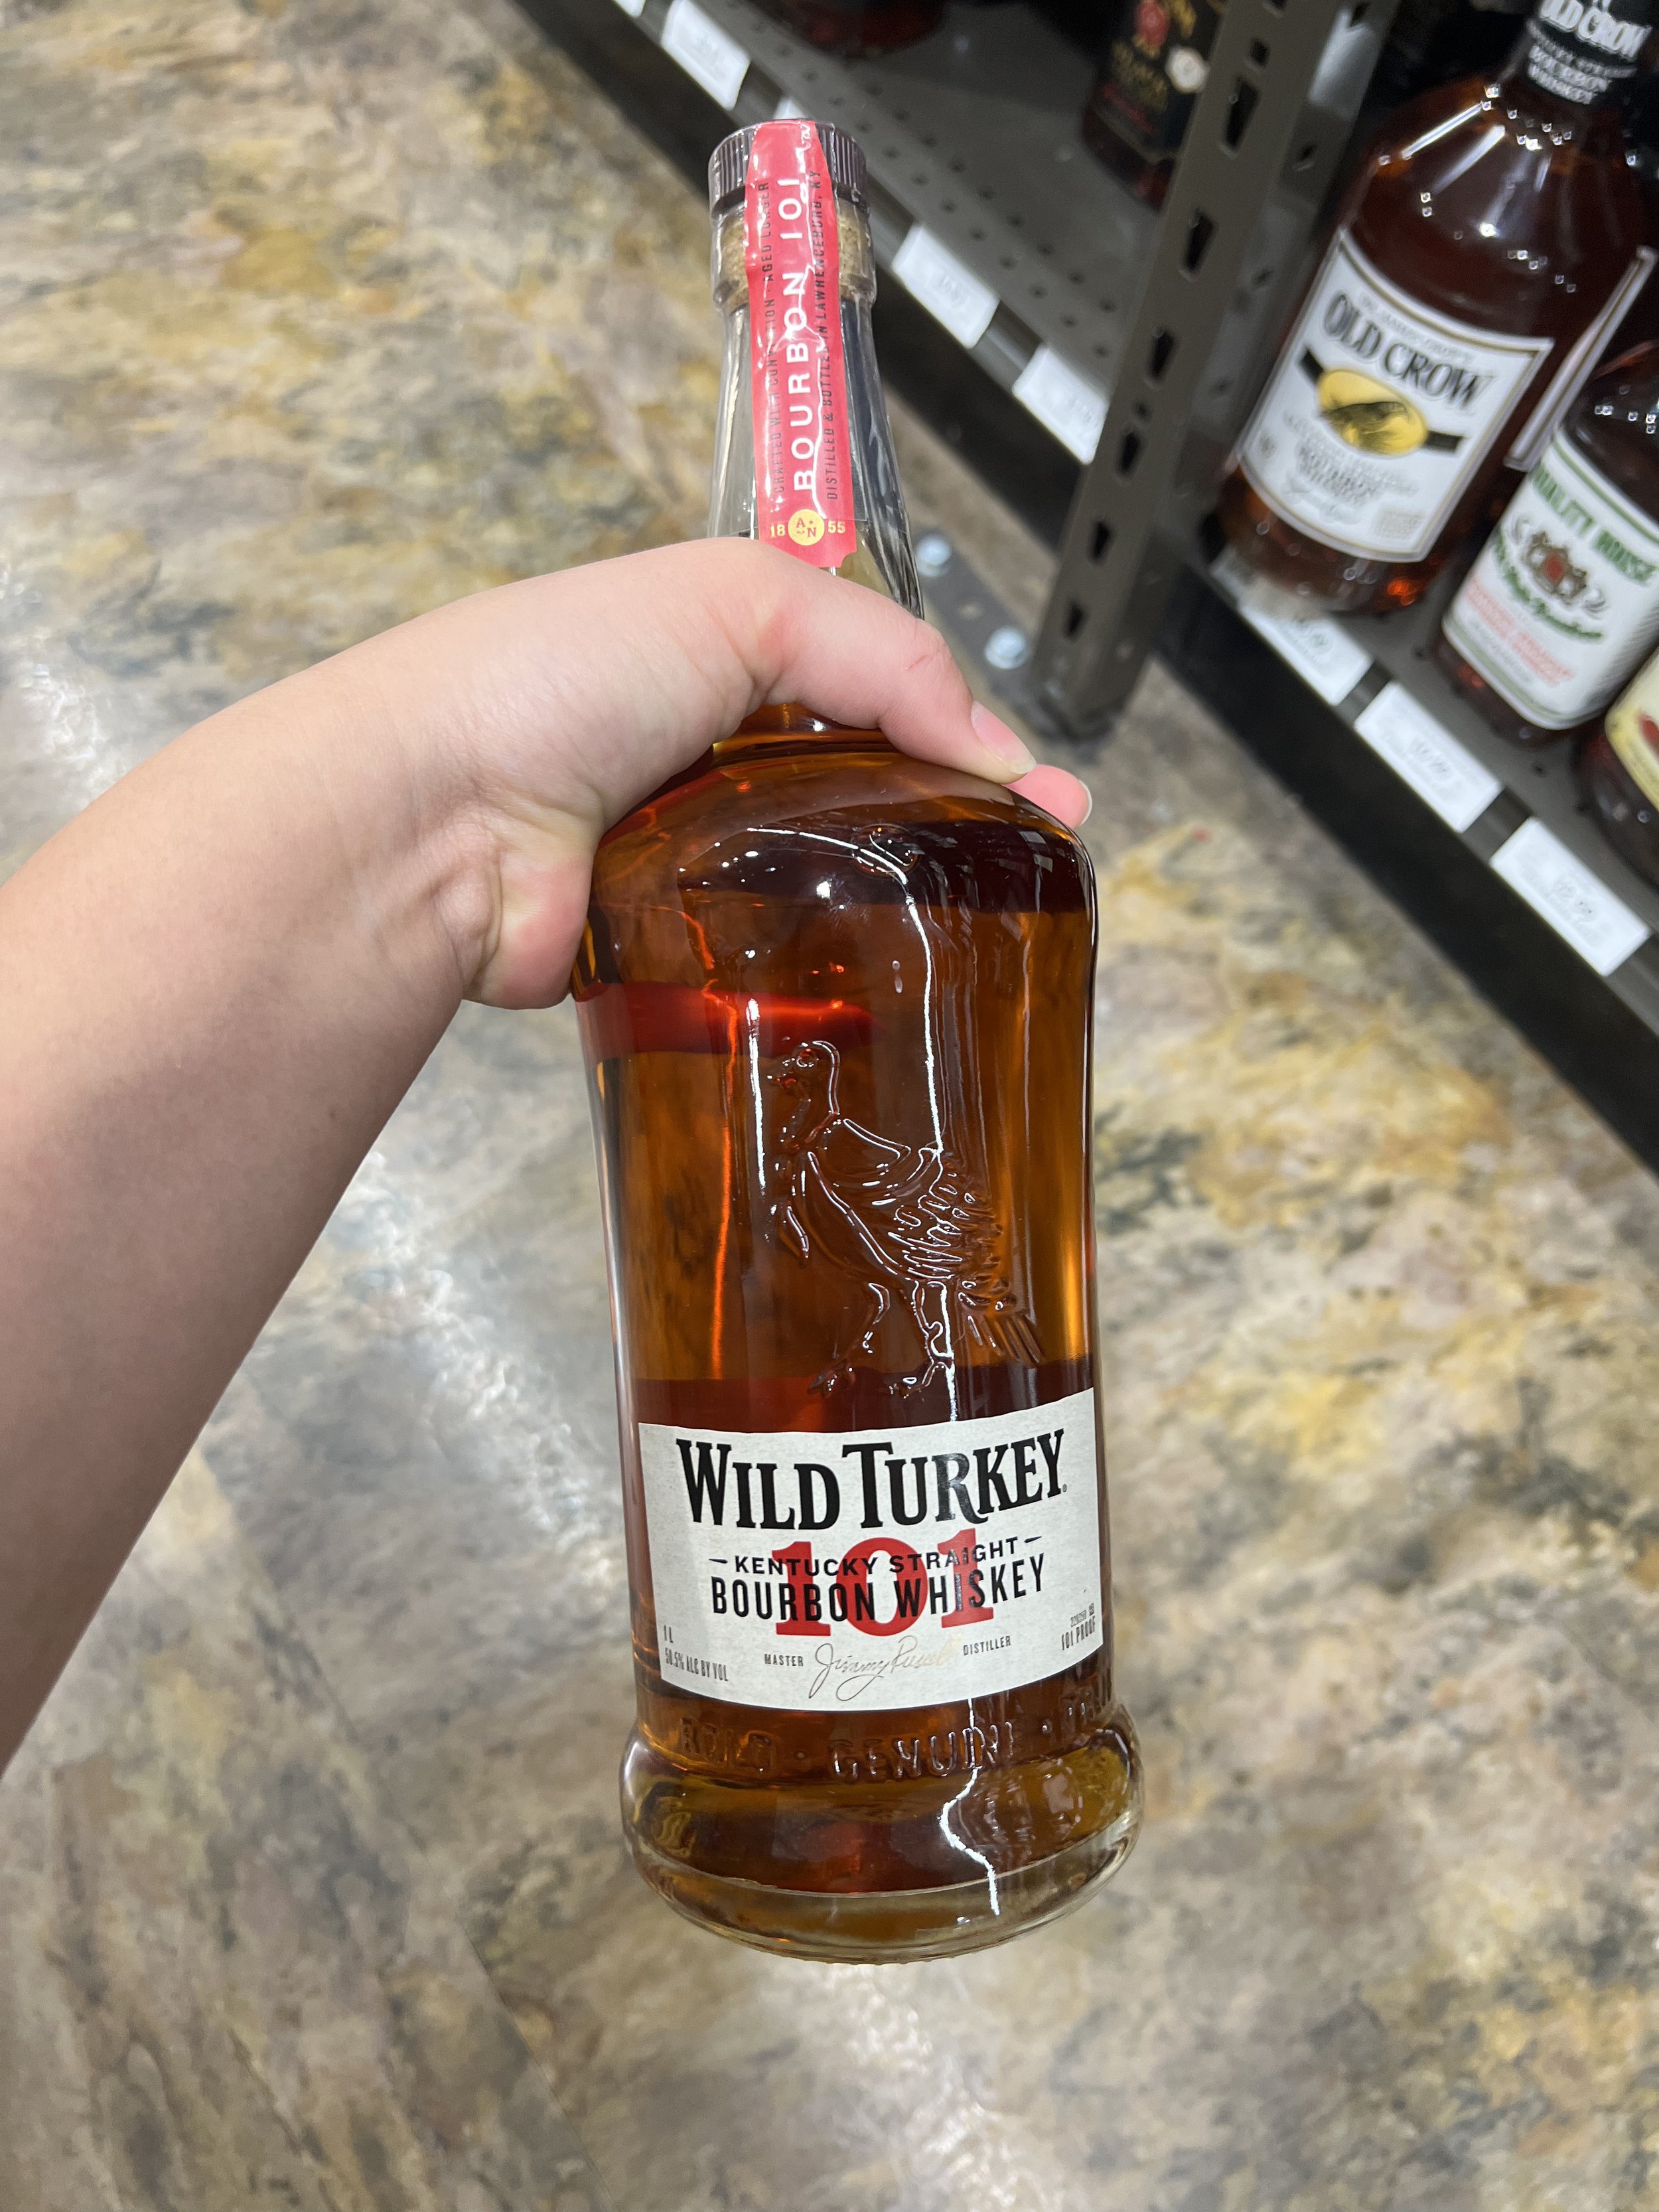
This bottle had the taste I was looking for, but the curved edges and turkey logo on the front limited the amount of room I could use to etch

This bottle shape was perfect but I wasn’t sure if my coworker would like the honey flavor

I ended up with this Wild Turkey Whiskey - Longbranch special edition bottle because of its flat surface area on the back to work with.
I also bought Armour Etch and Rub’nBuff in Gold Leaf color from Michaels.
Step 2: Experimenting with Armour Etch (glass etching cream) & Rub’nBuff Pigment
If you’re like me and have never used Armour Etch before, it would be a good idea to practice on a glass bottle you’re going to throw away before working on the final product. The back of the bottle said to leave the cream on for 3-4 minutes but other articles said to leave it on for 20-30 minutes.

I practiced on a random bottle and cut out my design using my Cricut Maker 3 (vinyl cutting machine). As you can see the bottle is very curved but as it was a test bottle, I was moreso looking for how the etching would turn out in terms of intensity. I also left 4 dots of cream on the back and left it for 1 - 2 hours to test if extending the time would help. This did not help the intensity of the etch as the cream started to dry up making it even harder to remove from the bottle. The etching of the dots looked exactly like the cream that was left on for 30 minutes.
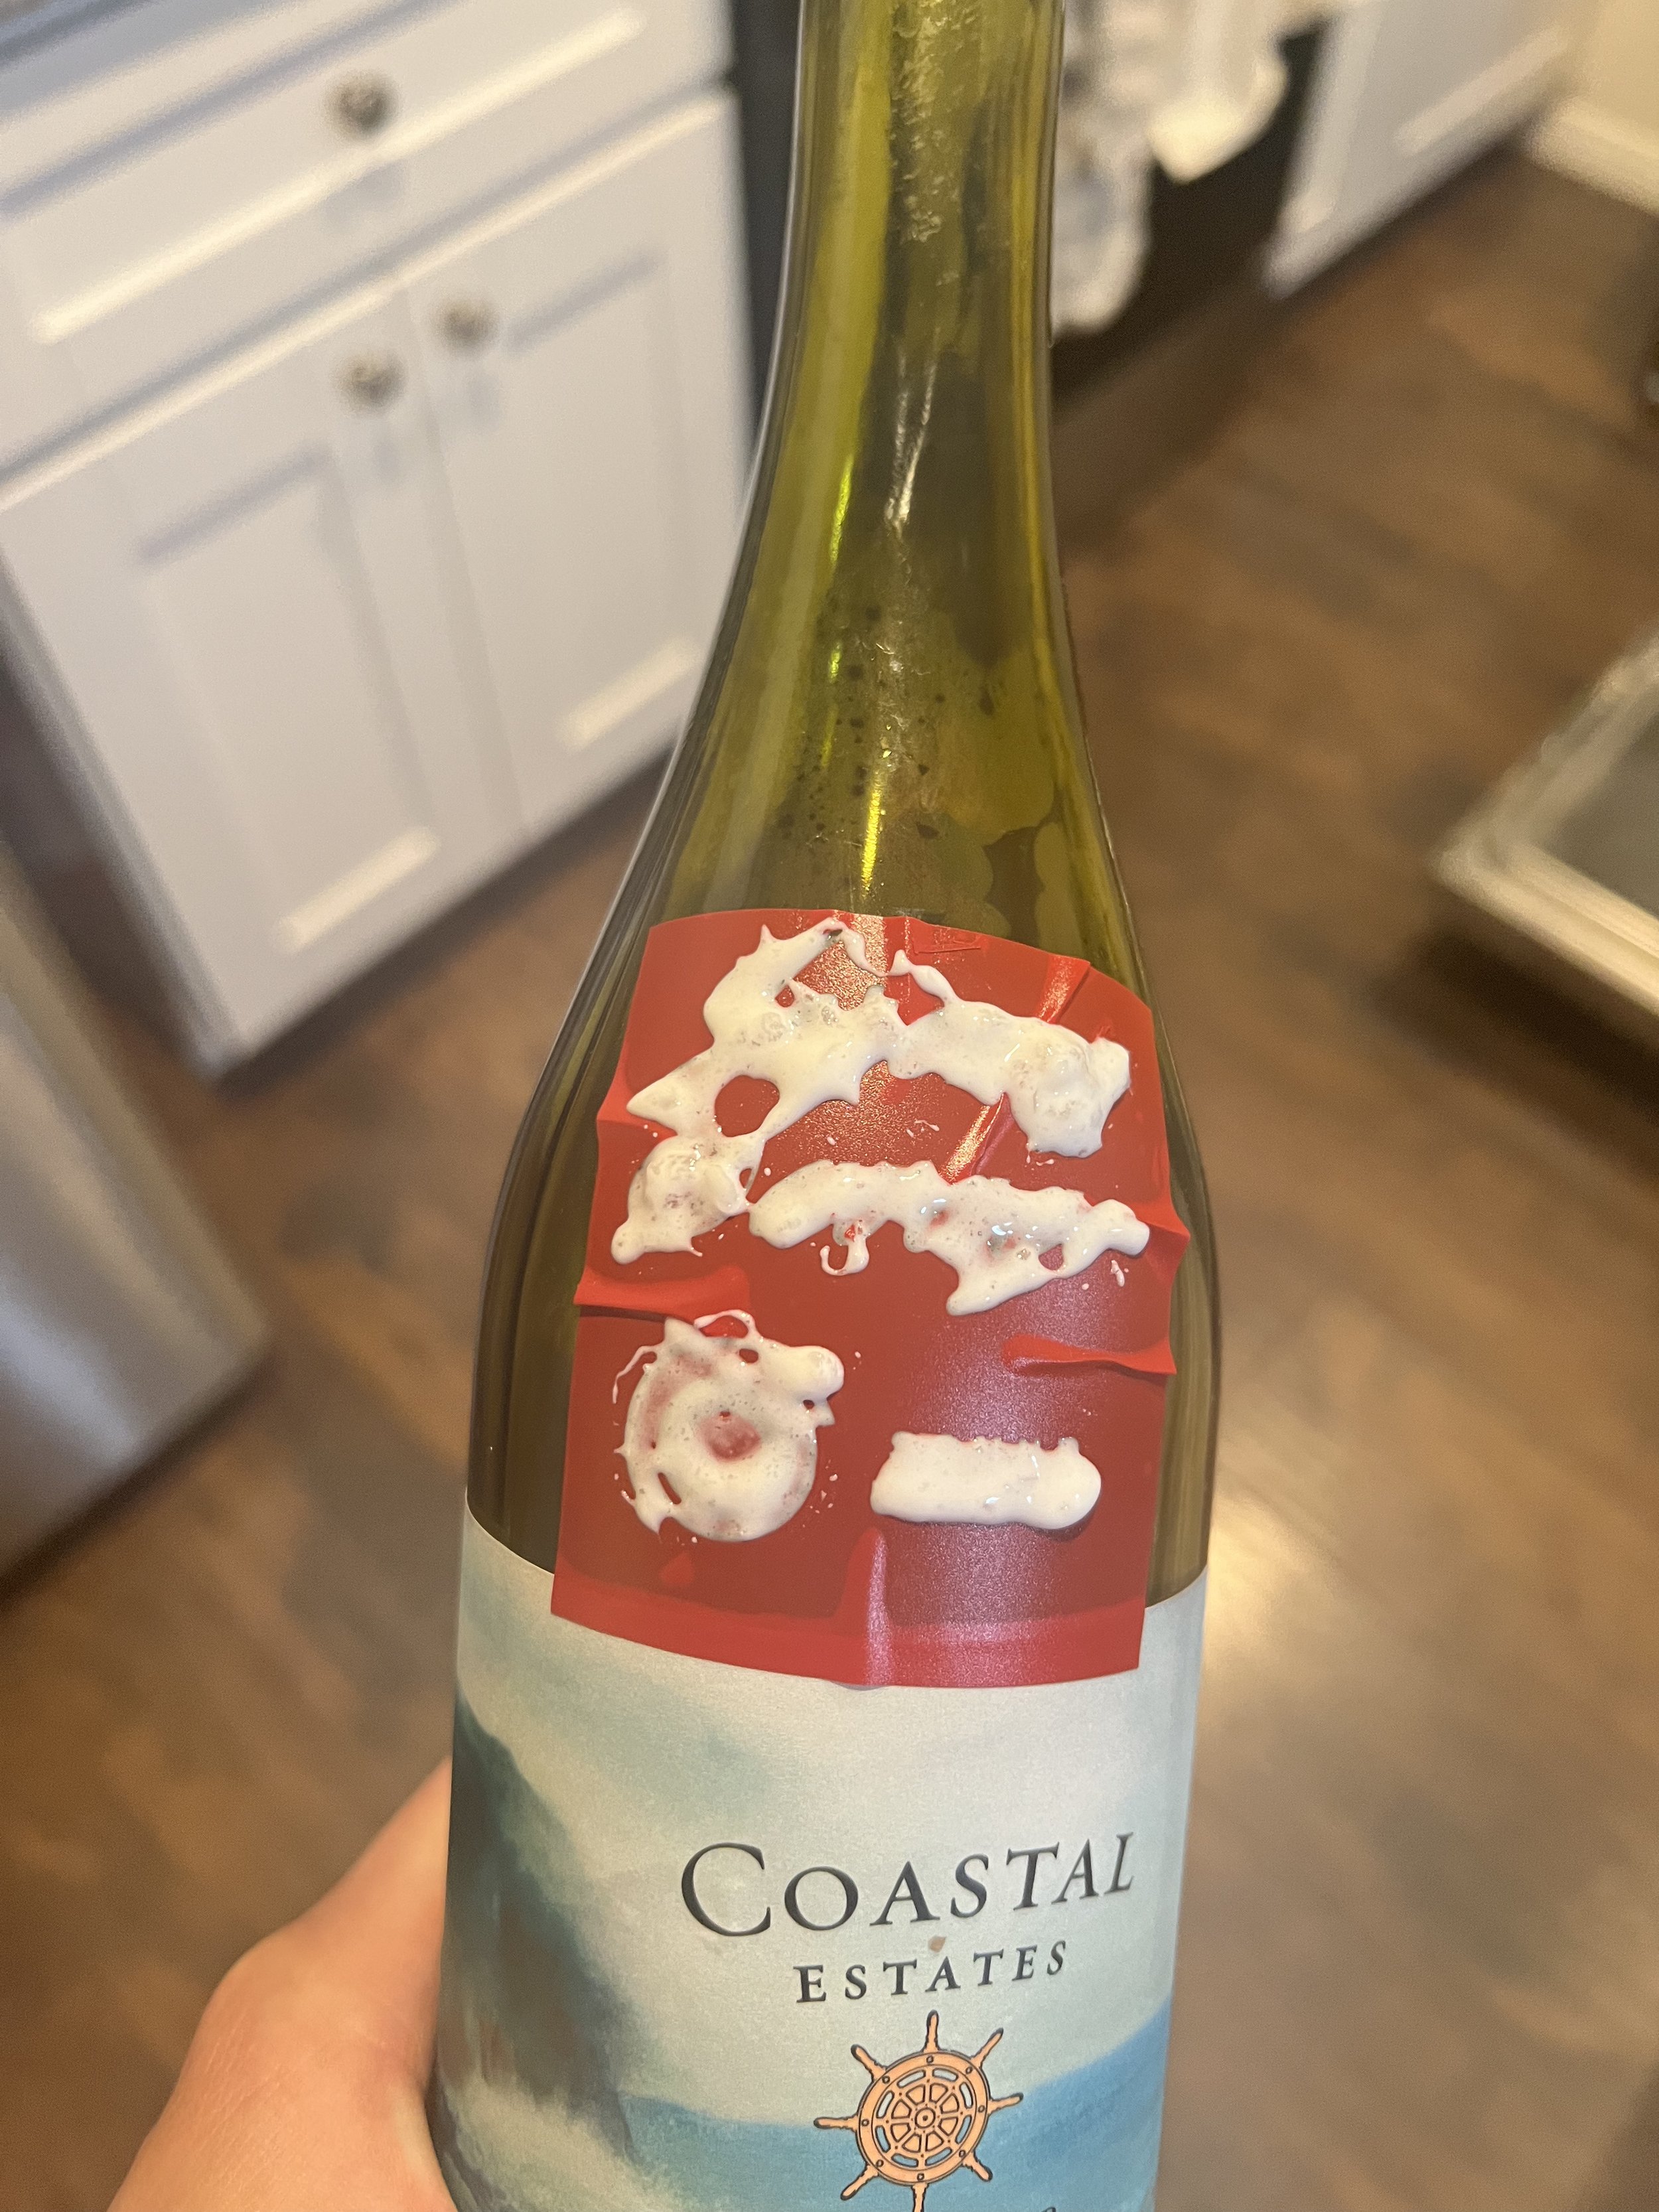
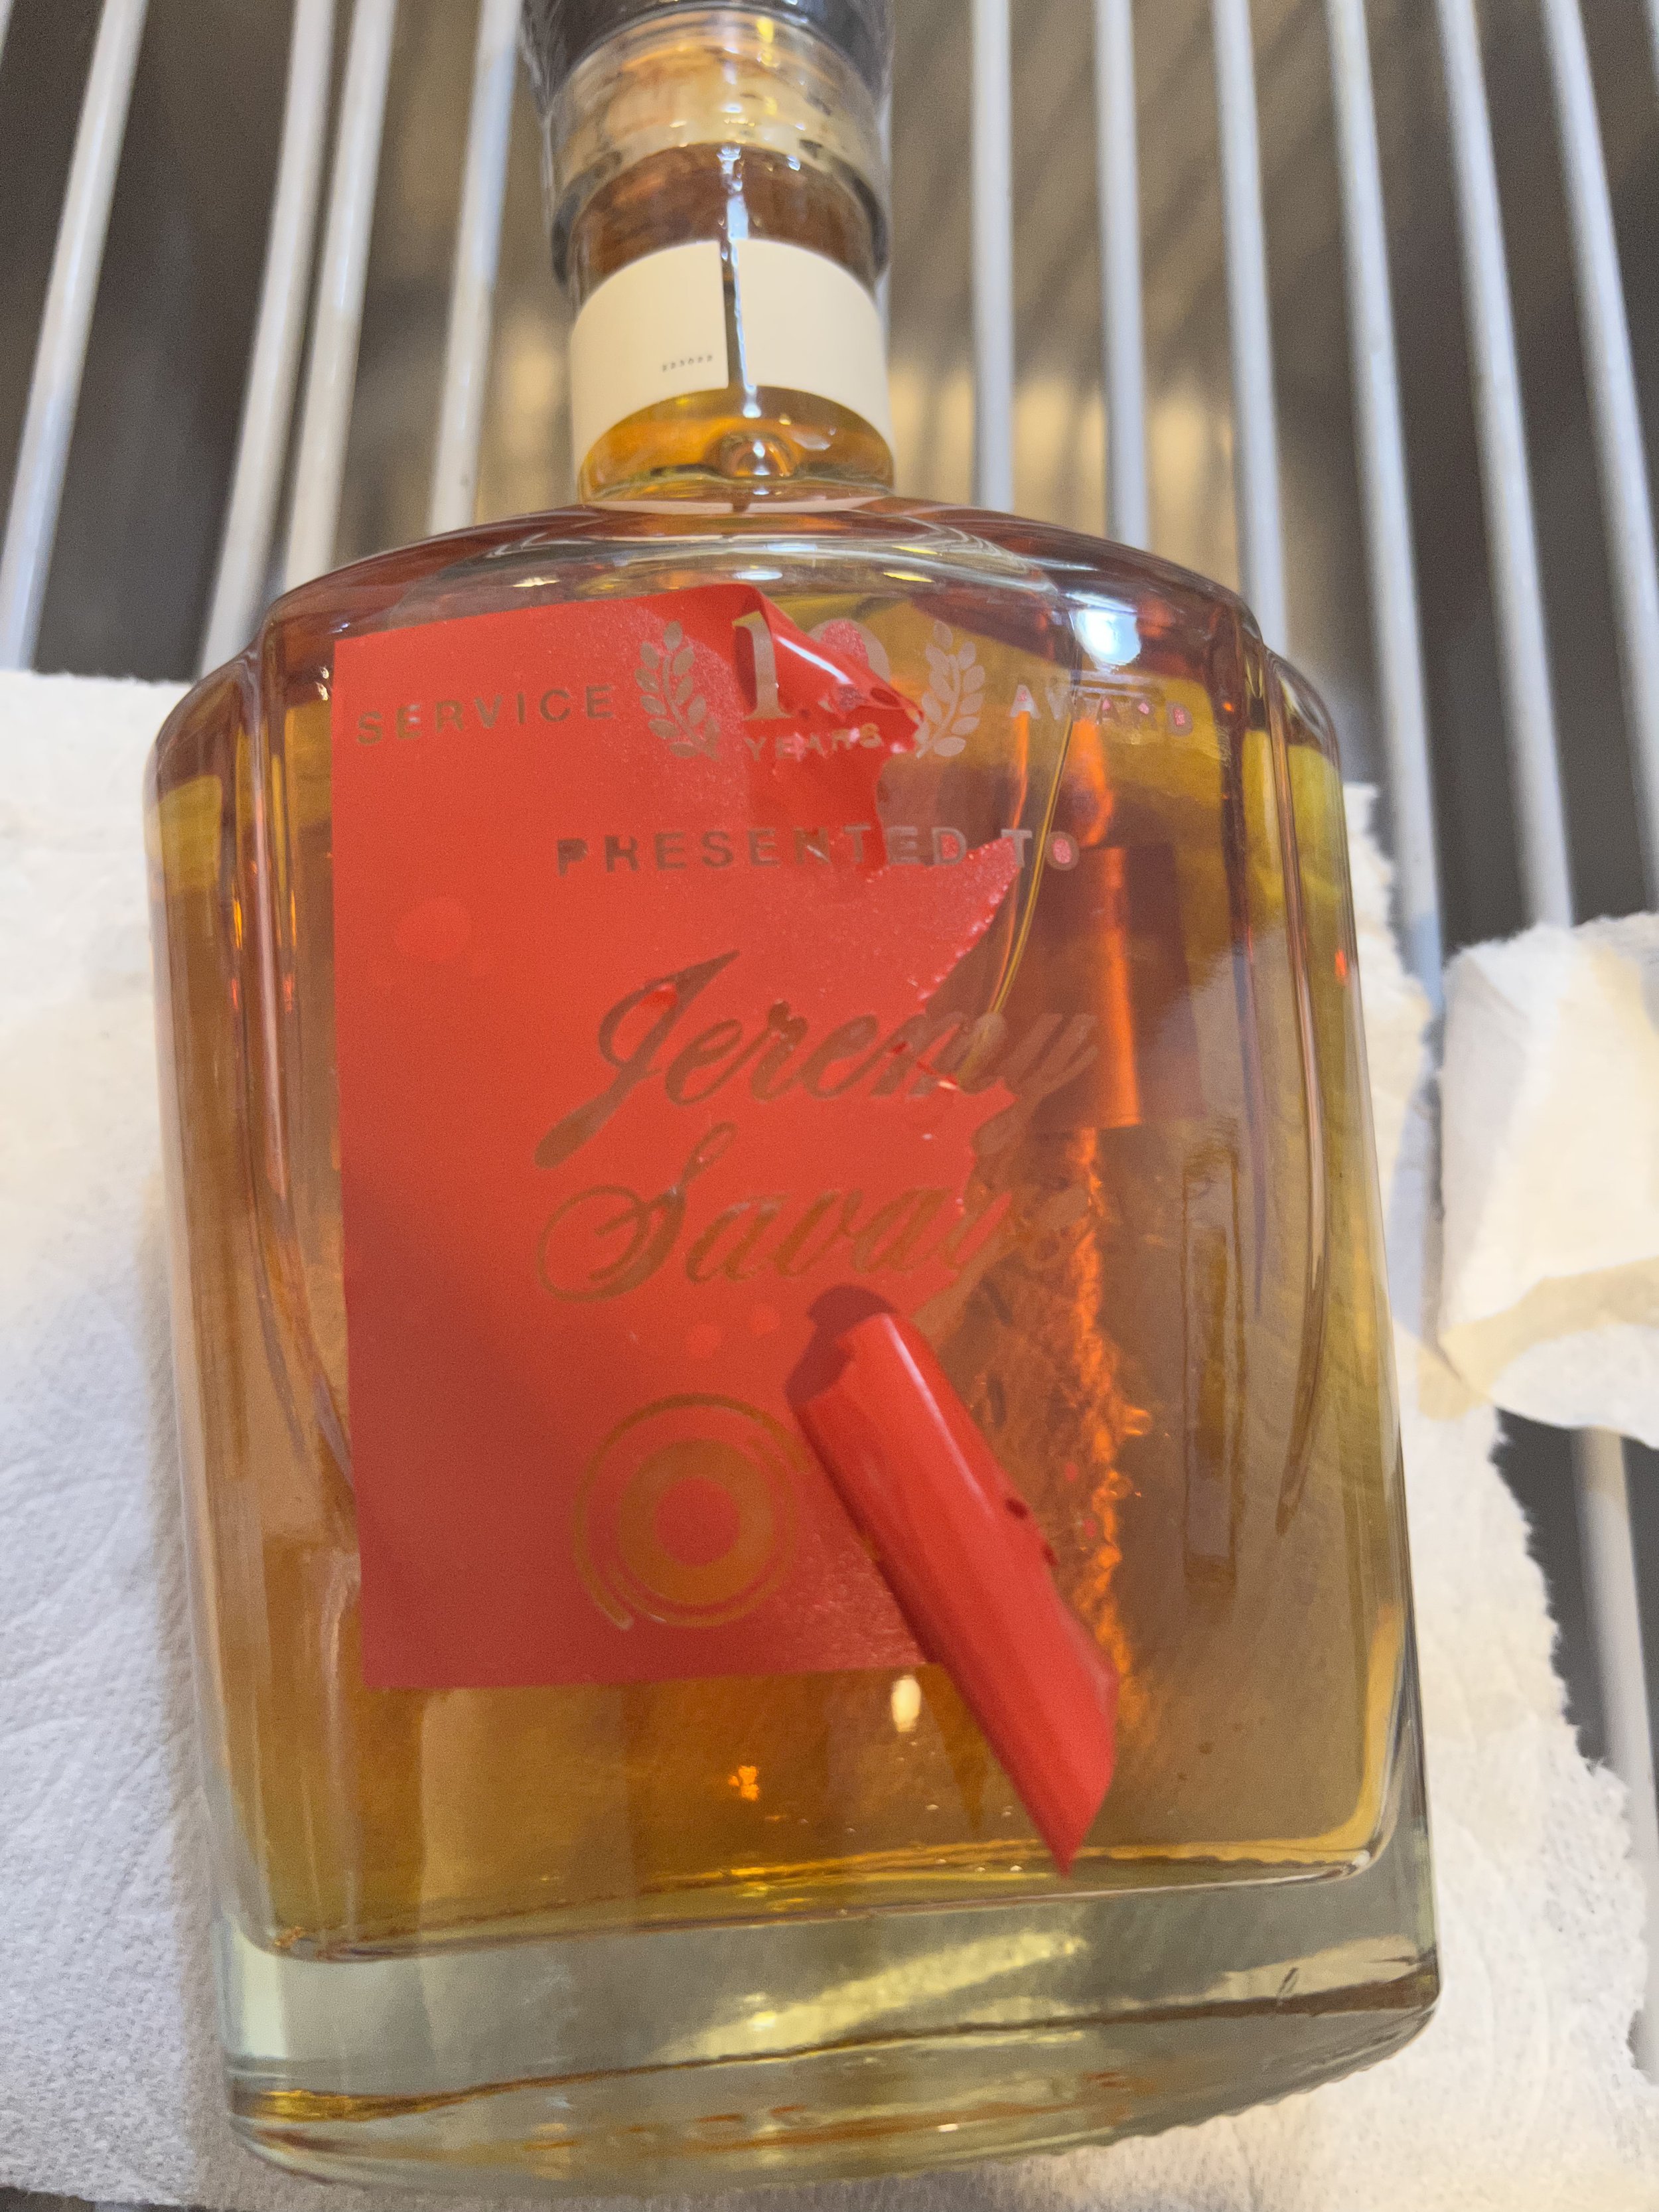
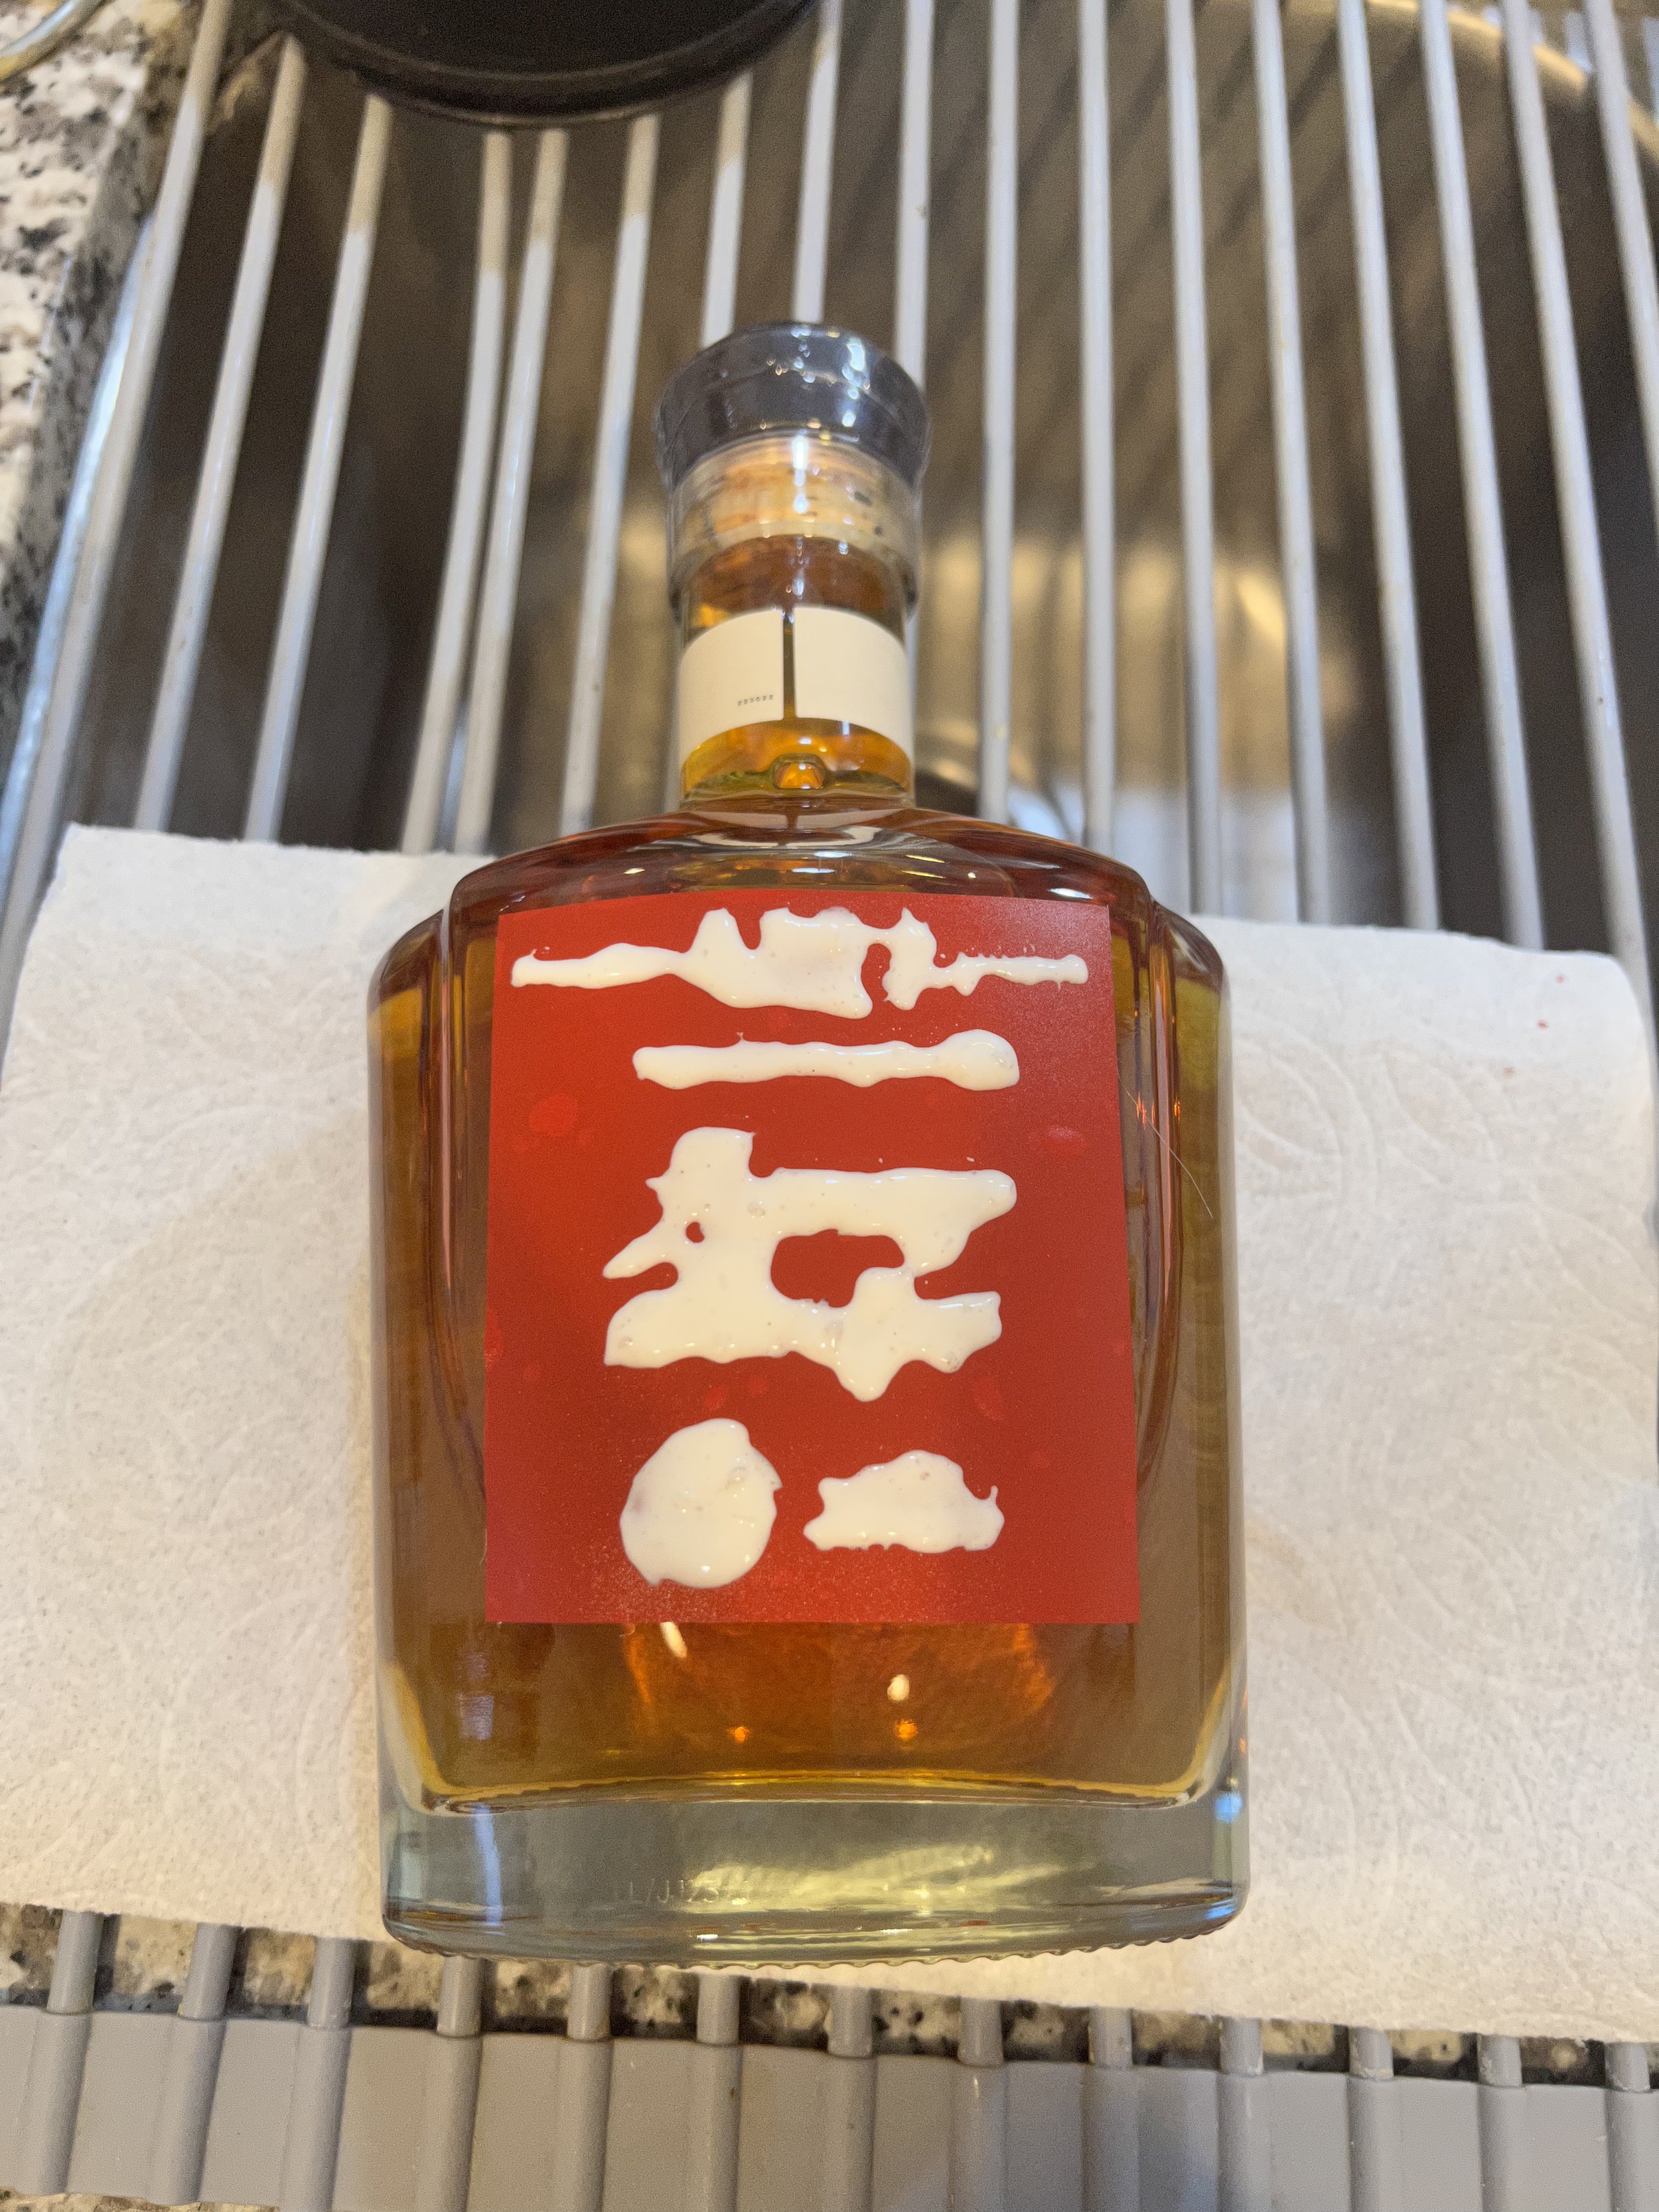
After leaving the etching cream on for 30 minutes, I peeled off the red vinyl sticker and rinsed the Armour Etch off in the sink. I do not recommend following this order because of two things:
1. the water from the sink got the label wet
2. Rubbing away the etching cream with a paper towel after removing the vinyl allowed for some of the cream to get on the areas of the bottle around the design. It wasn’t noticeable until I started to experiment with the gold Rub’nBuff.
It’s best to wipe the cream away with the red label still intact using a wet paper towel so the cream doesn’t touch any other parts of the bottle.
Do A test run!
You can see how the etching cream and the pigment react to the glass
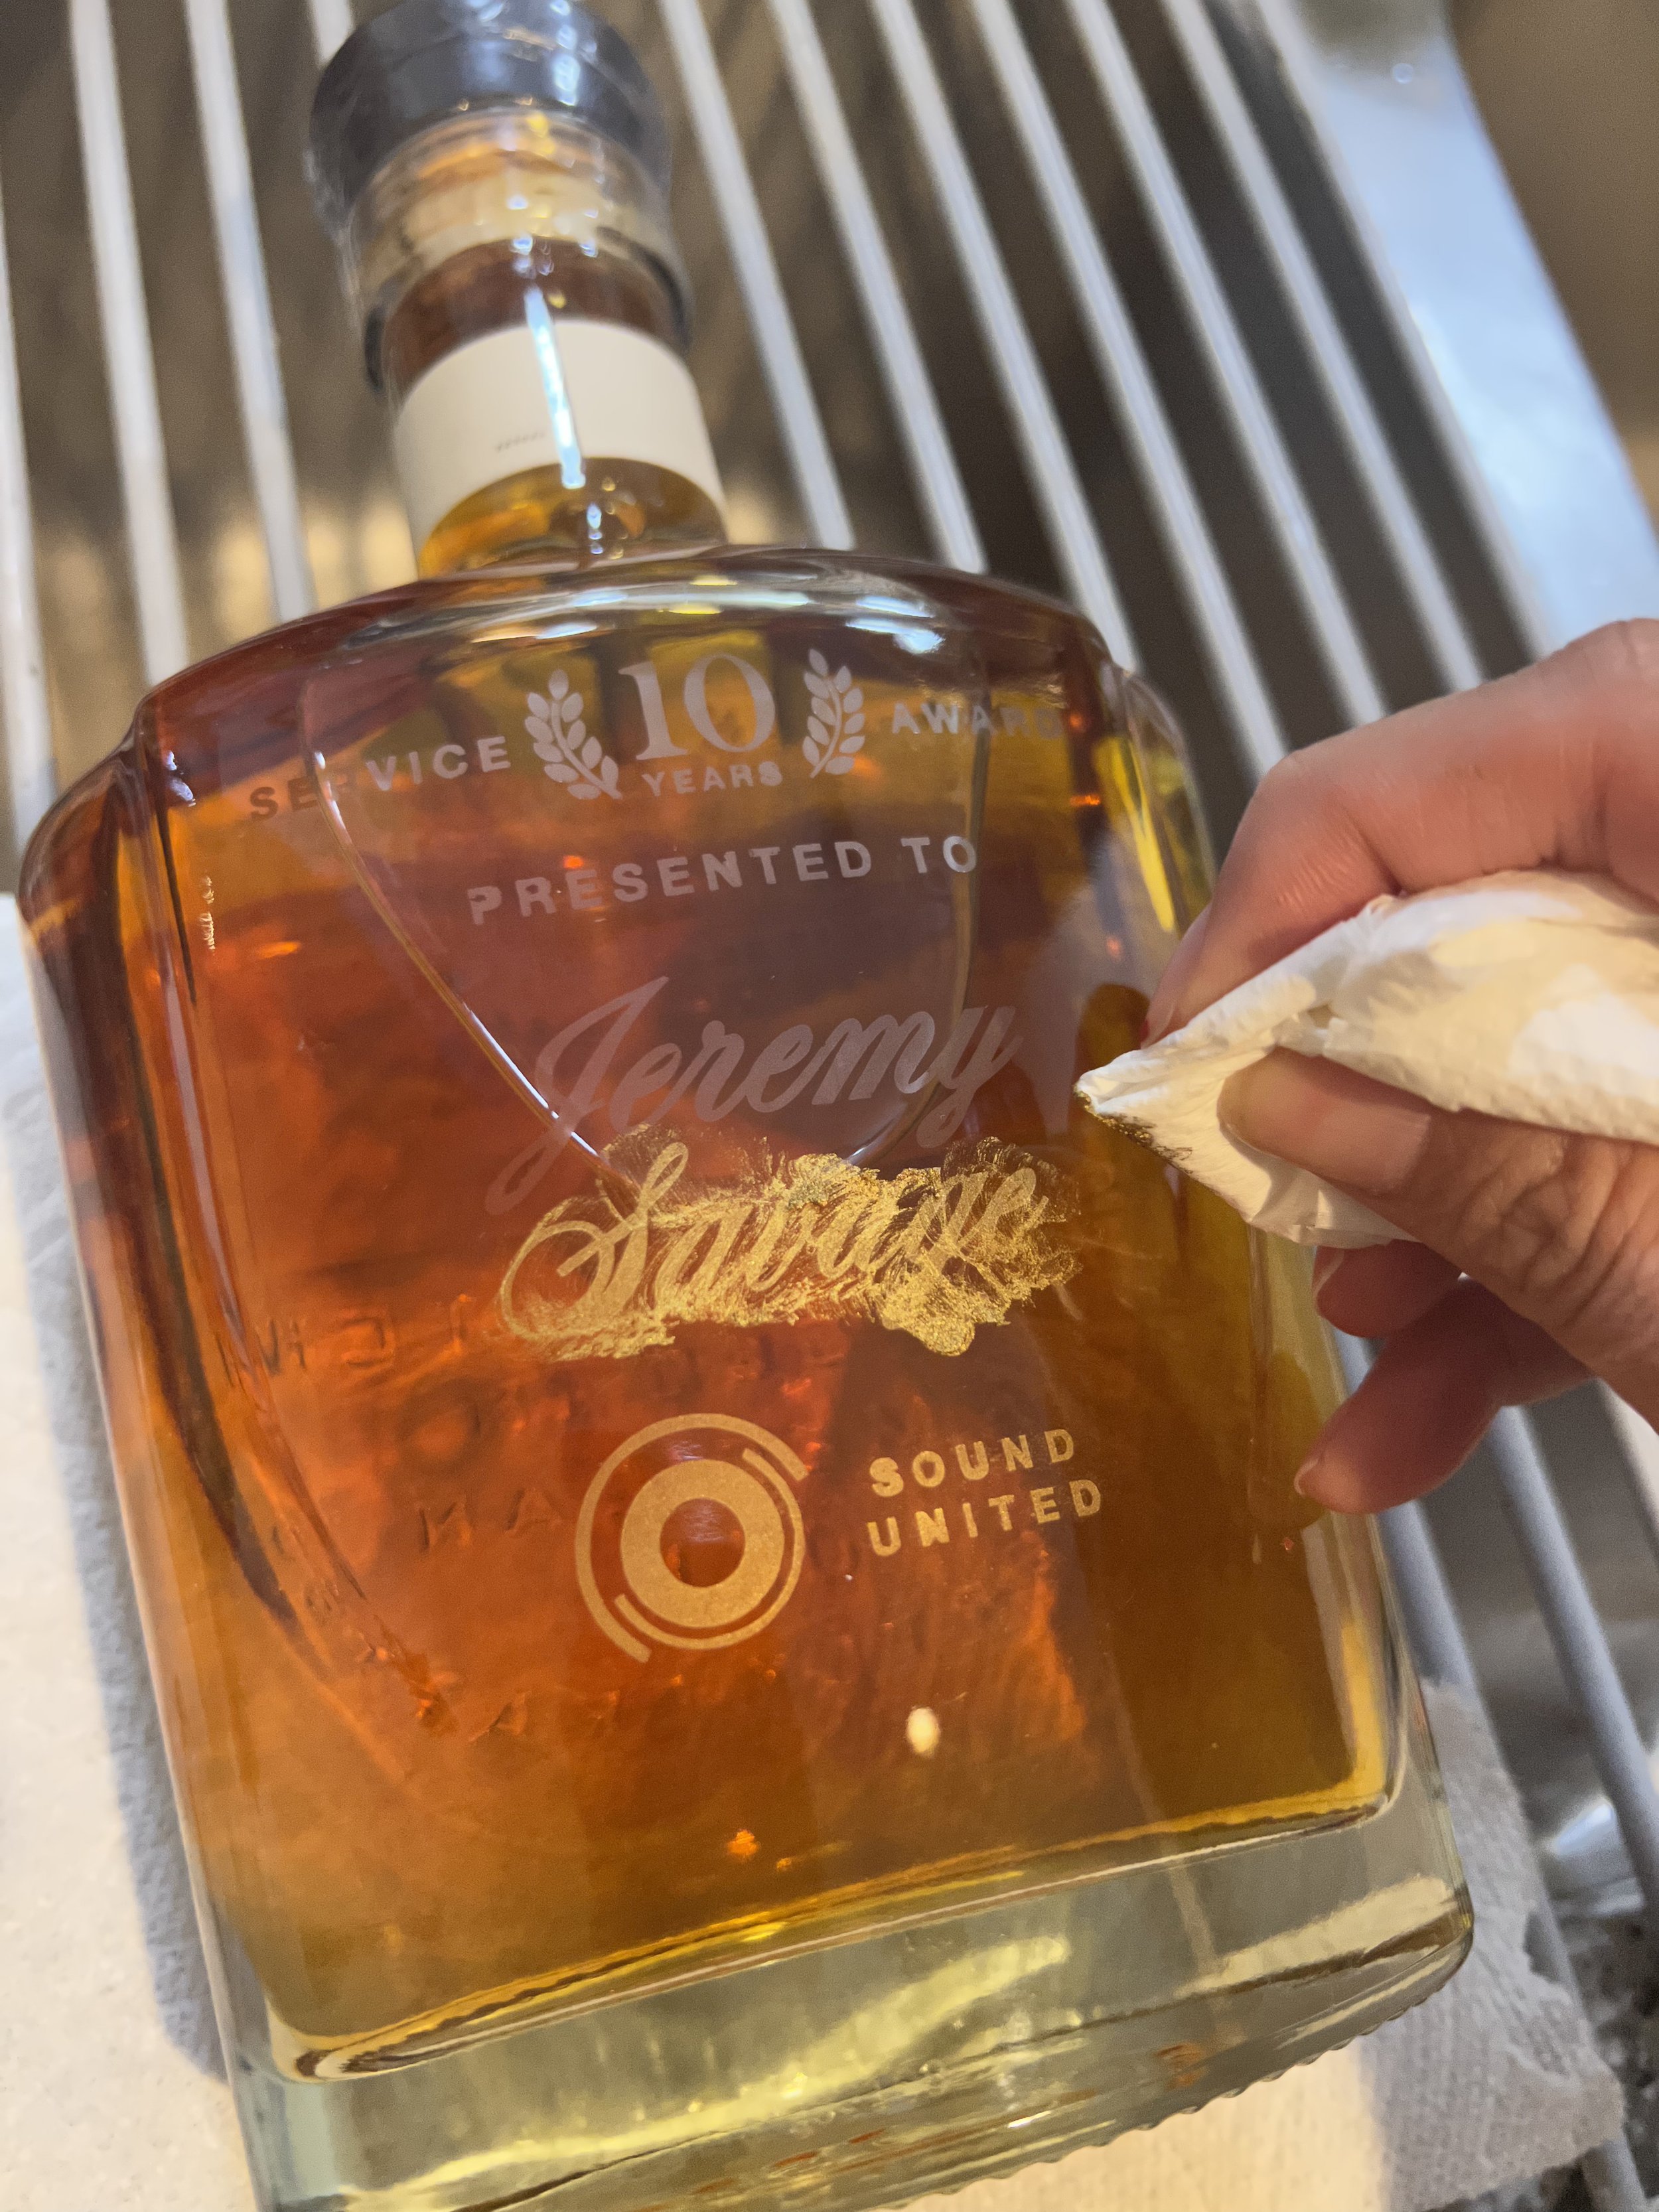
With the Rub’nBuff I added smaller than a pea sized amount of pigment to my paper towel and started rubbing it on my design. It’s best to work in a well-ventiallted area since the smell reminds me of oil painting/turpentine. I made the mistake of working slowly and the more I rubbed the gold slowly around the design the quicker it dried out sticking to my paper towel instead. Additionally, I could tell that the gold pigment was sticking to the areas outside of the design because of the way I removed the etching cream from the test above. The cream touched the outside of the design for a split second causing the shininess of the bottle to dull a tiny bit allowing the pigment to stick. Additionally, I wasn’t very careful with my paper towel as you can see the gold pigment got on top of the label.
My Takeaway:
Work fast when using the Rub’nBuff. Rub it on but don’t rub too much as you could also rub away the pigment the more you work with it. Rubbing too much could also dry out the pigment allowing it to stick on the surrounding parts of the glass.
Step 3. Working with the real thing
I peeled off a small rectangle strip from the back of the bottle containing the manufacturing information/alcohol warning. I used my hair dryer on the back for a few seconds to quickly warm the glue so I could peel it away without leaving residue.


From there, I printed out some test designs of what I wanted to etch on the front and back of the bottle.
I used my Cricut Maker 3 smart vinyl to cut out the design on my red vinyl and did many test cuts.
Tips for Cricut users:
I used Smart Vinyl™ to cut the intricate detail on the front but the blade kept getting caught on the little pieces ruining the cut. After many test cuts, I realized that if I used the Smart Vinyl in addition to the cutting mat it created more stability and the cut was successful.
When applying your vinyl, make sure that all the little pieces of lettering (the triangle shape inside the “A” or the circle shape inside the “O”) are pressed firmly to the glass. You will get sharper lines and the cream won’t seep underneath the vinyl.
I originally wanted to add a longer message to the back but the smaller pieces made it difficult to weed out. I would recommend choosing a message that’s short.
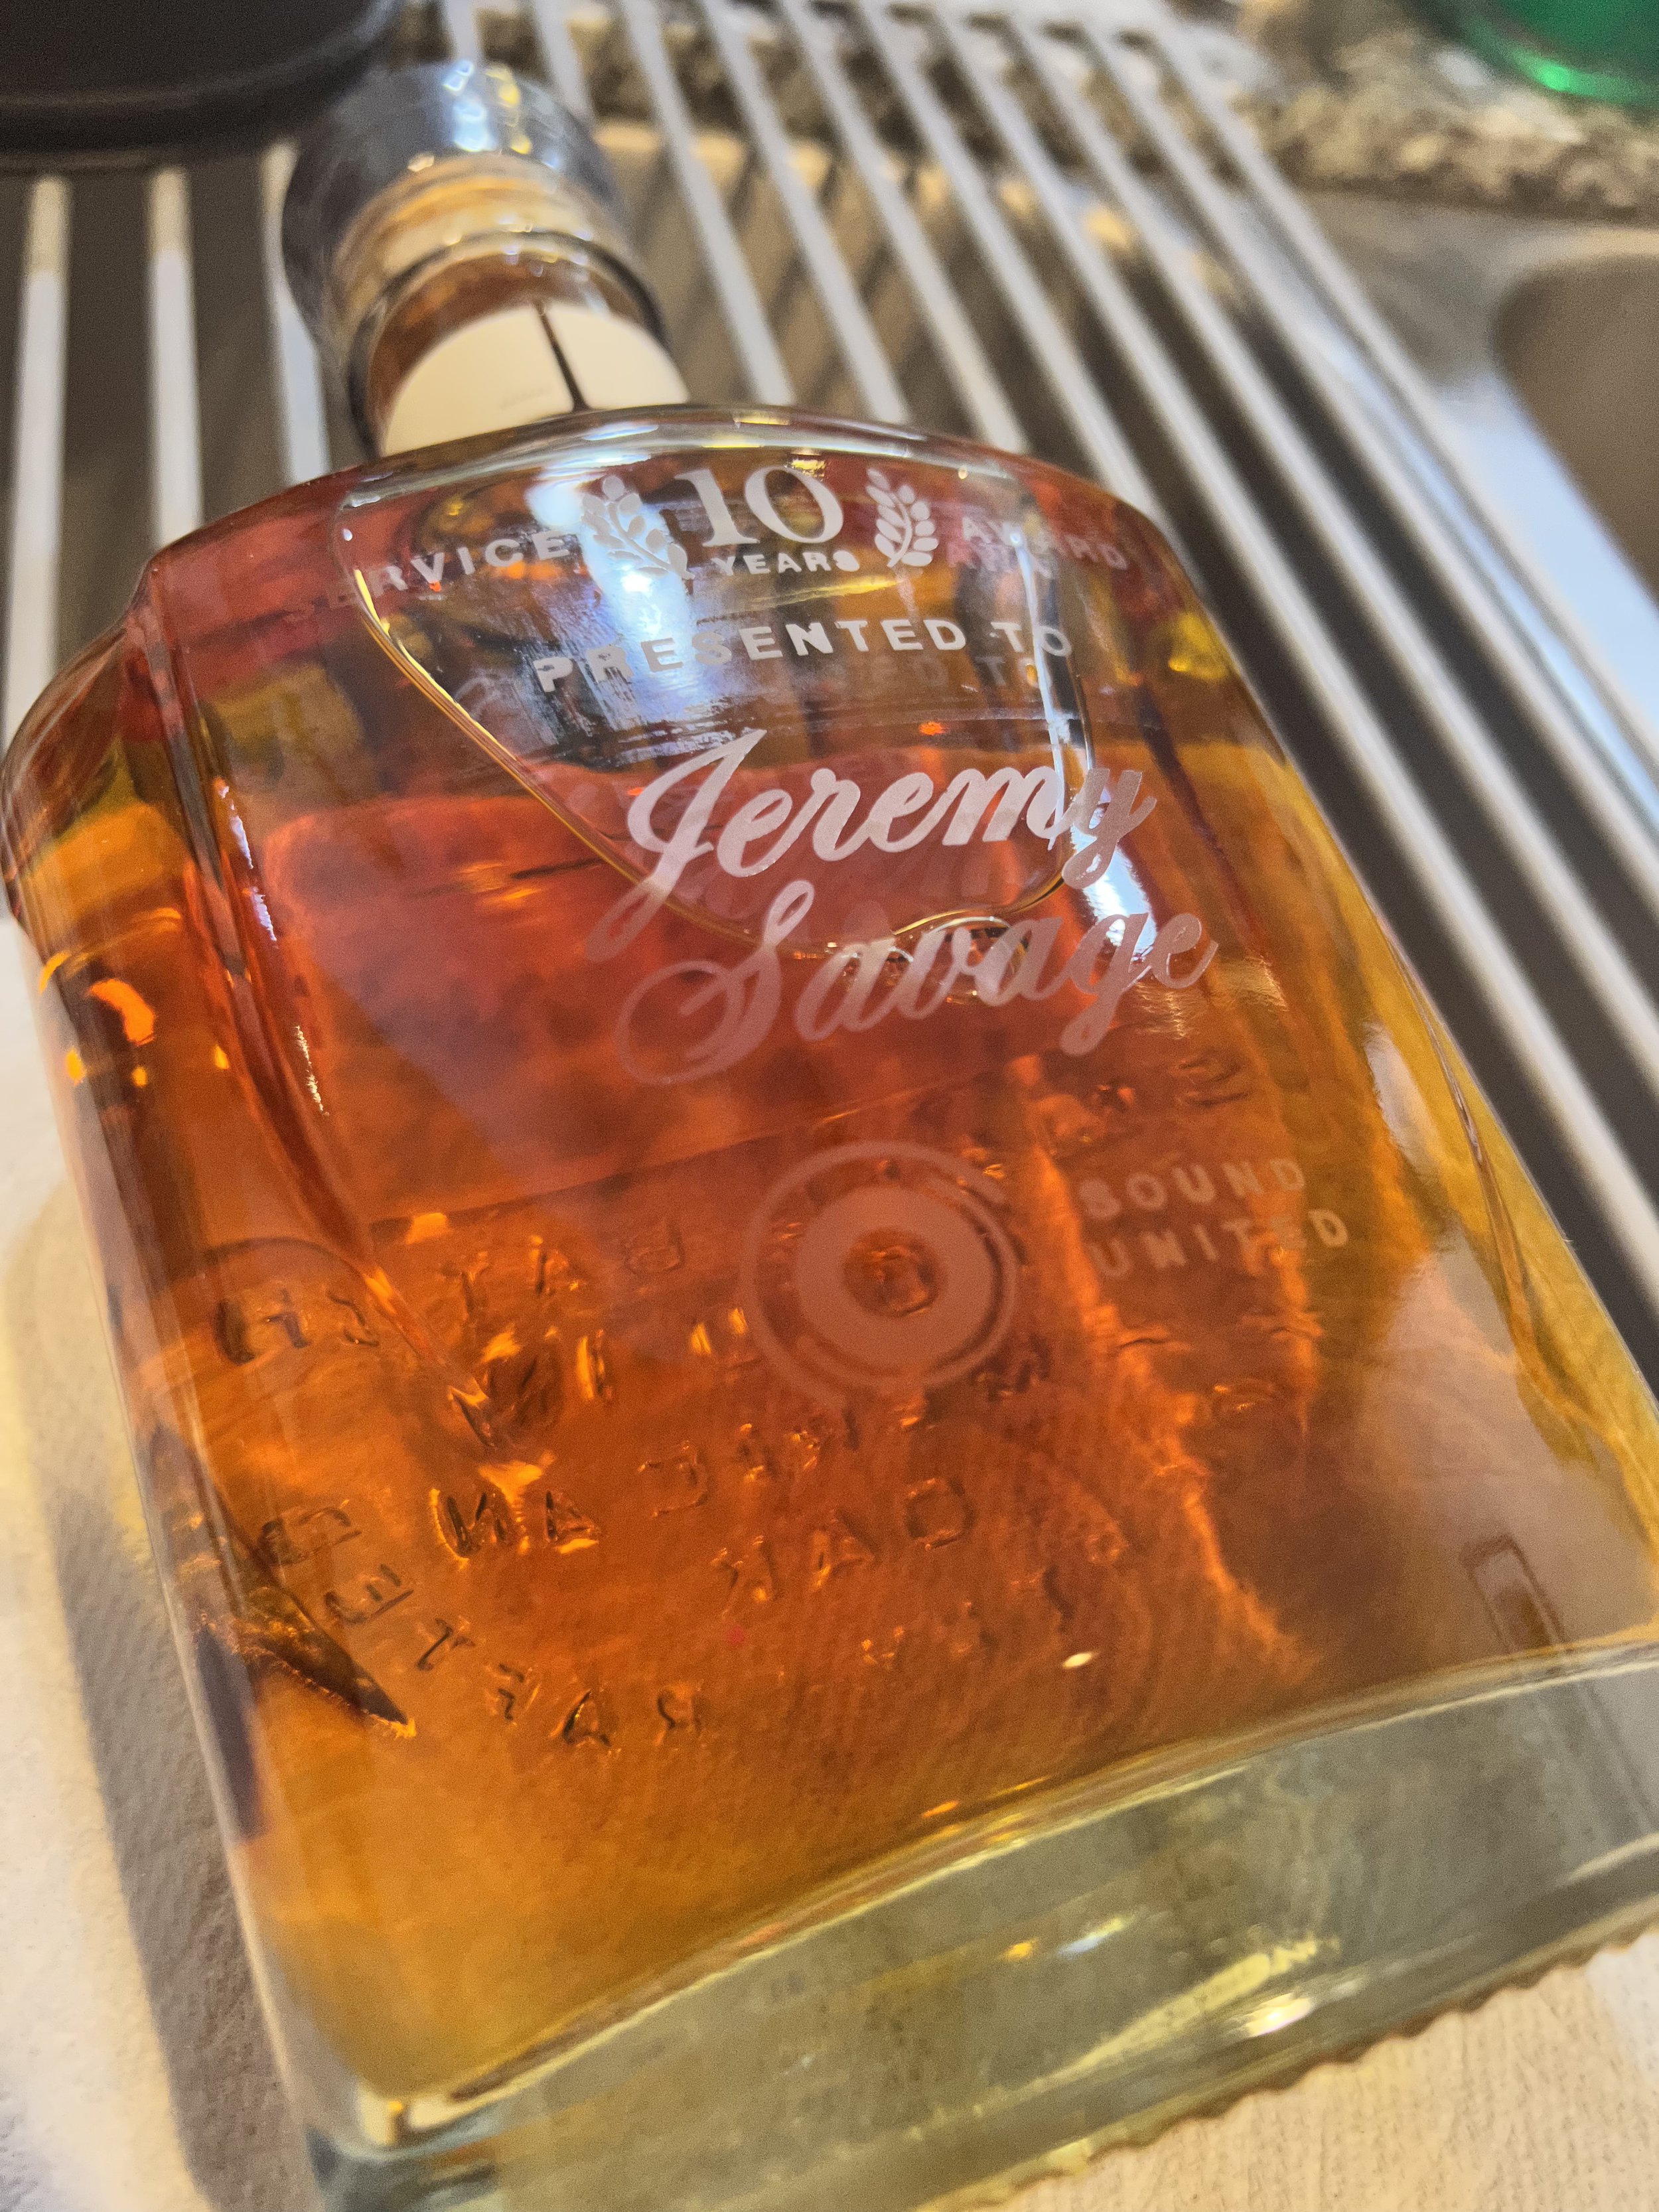


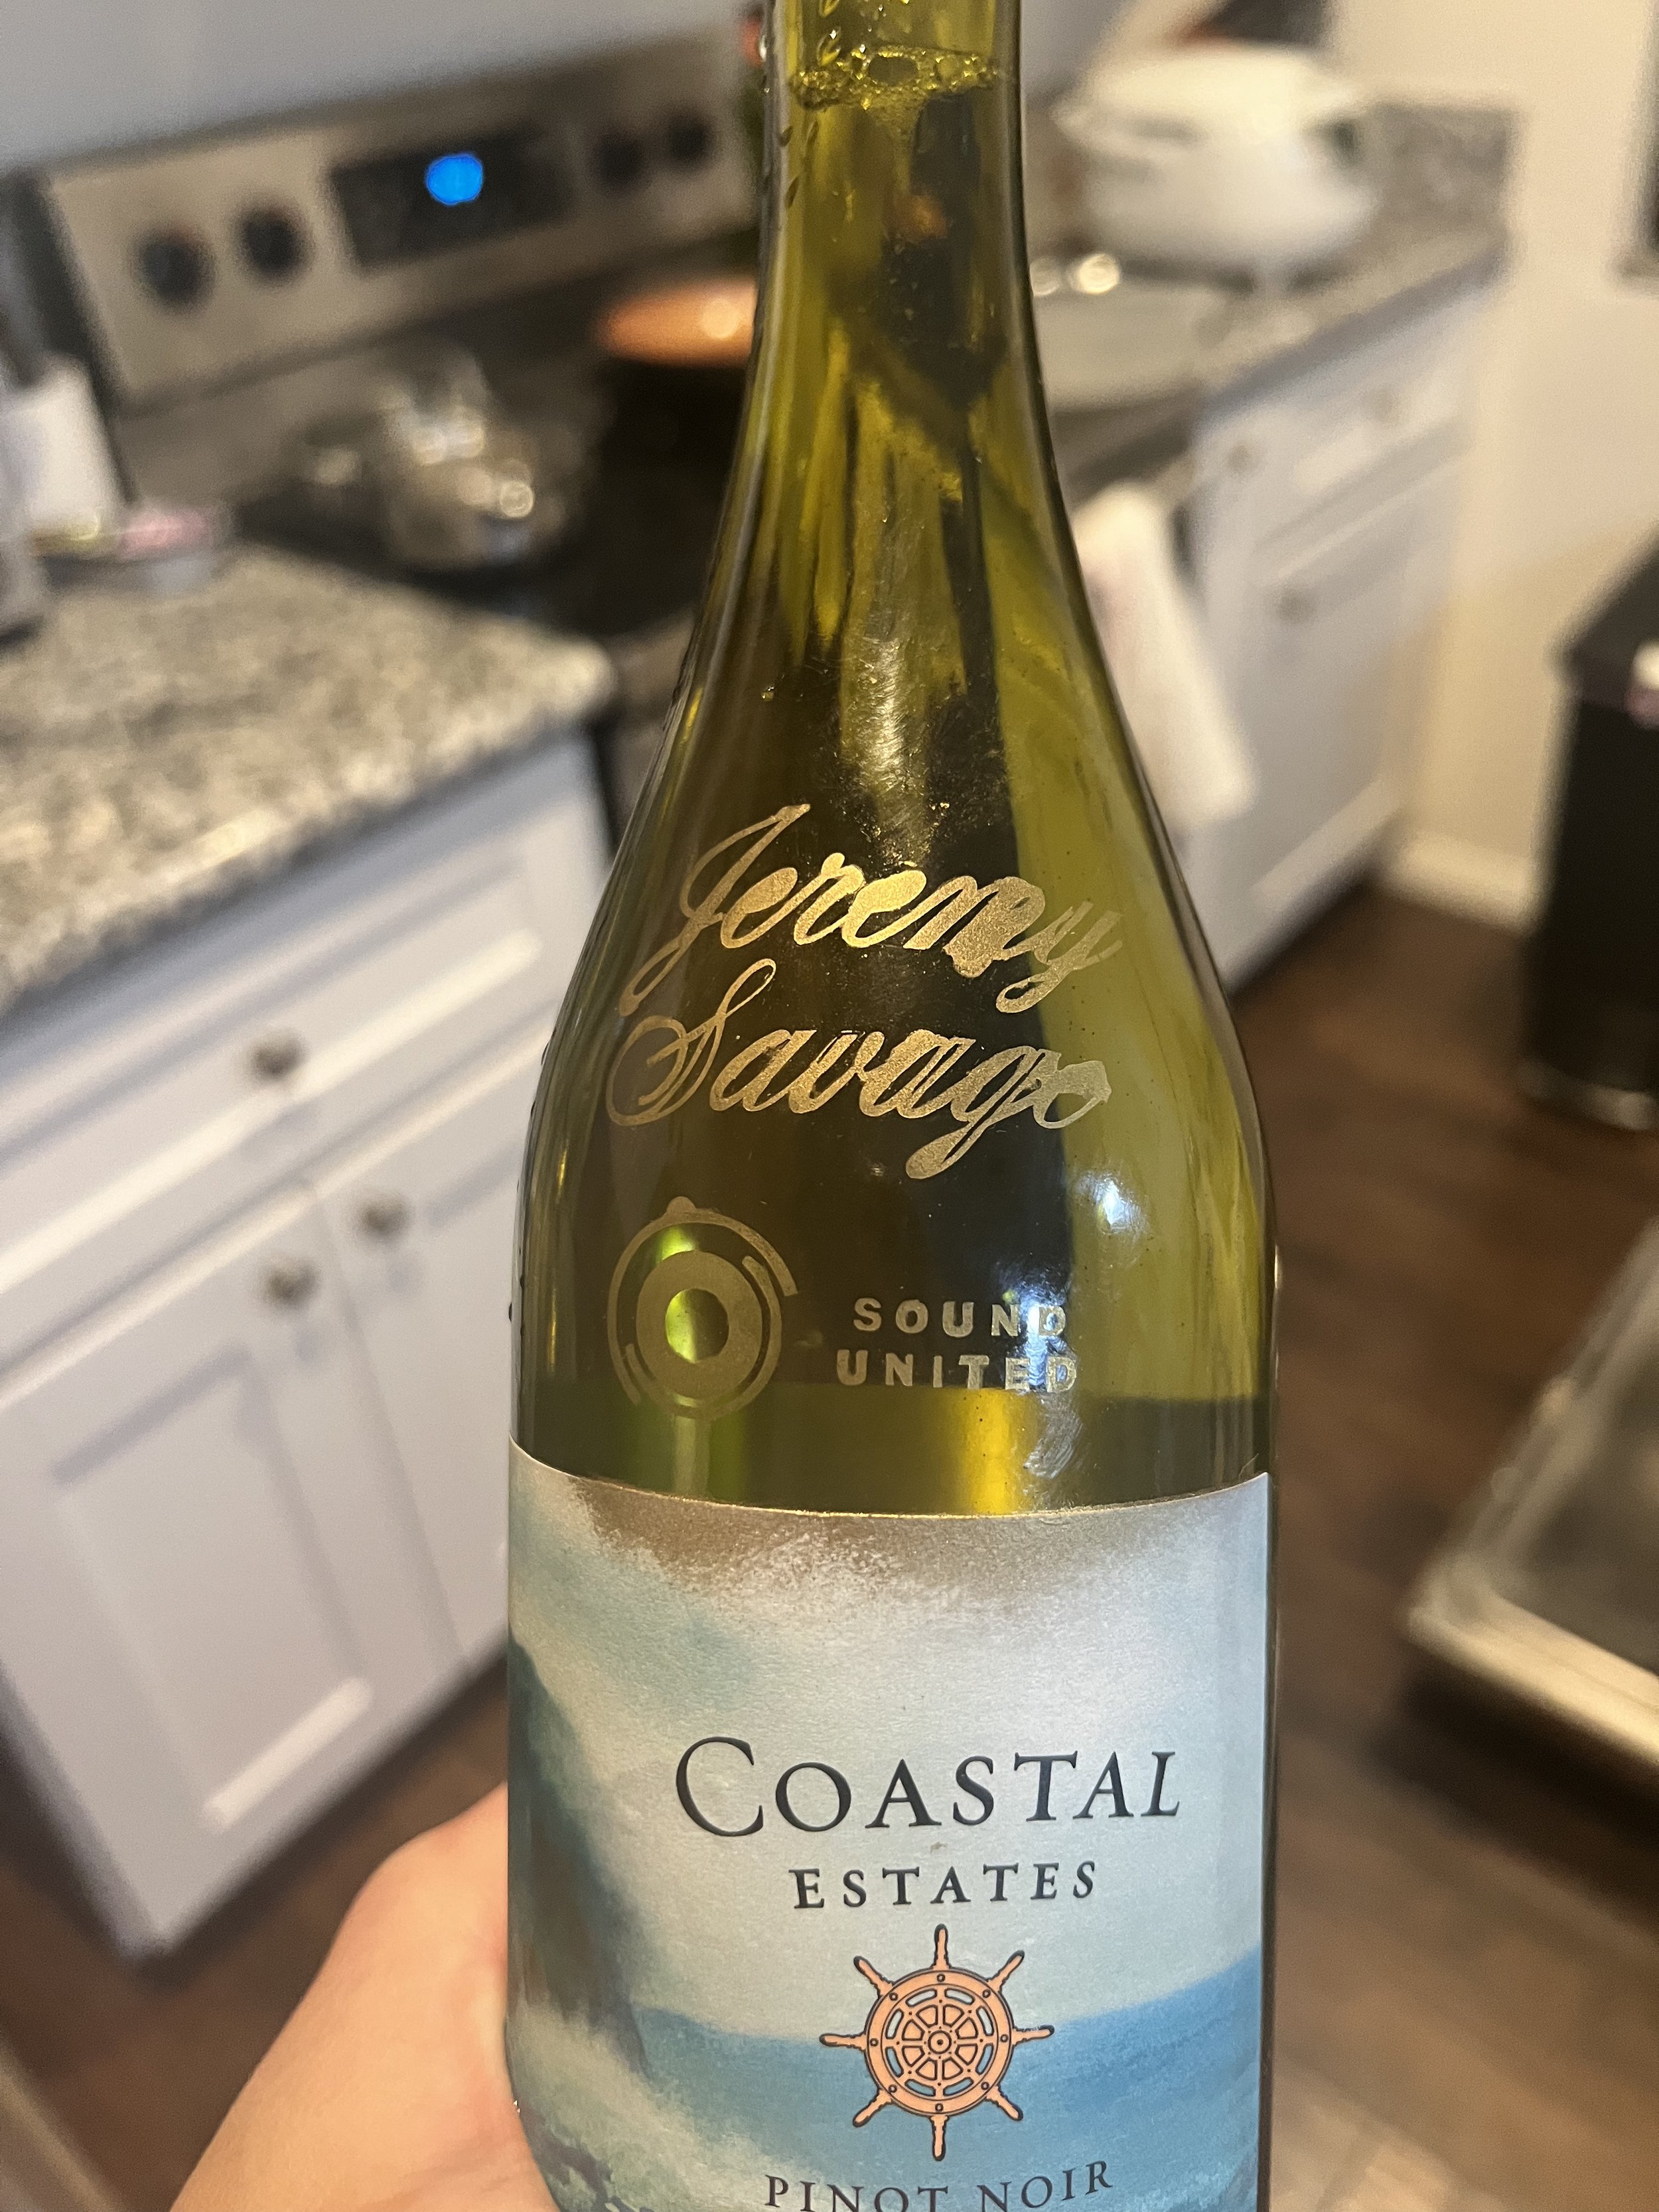
I think the final gift came out nicely — I’m excited to etch some more things in the future!

2020 was sitting in front of a computer for a whole year, it wasn’t the most inspirational time at all for a creative, but two of my projects received recognition! This year I really saw how graphic design directly impacted sales and the livelihoods of businesses. It was the urgency and pressure of the pandemic that forced me have more confidence in my work. I didn’t have time for many revisions, collaborations with other designers, a large budget, no second opinions - what I delivered was going to be the final. On the flip side, sometimes I prefer it this way because then the projects are completed quicker (you get paid faster) and all the trust is put in the designer.
Thank you Graphic Design USA @gdusa https://gdusa.com/

A bit of a diary post today: ⠀
How a viral sensation reminded me of my internship 11 years ago photoshopping cranberries on Ocean Spray labels 😊. ⠀
⠀
@OceansprayInc cranberry juice went viral the last couple of weeks when a tiktoker filmed himself long boarding down the street lip-syncing to Fleetwood Mac’s song “Dreams” while drinking an open 64 ounce container of Oceanspray cran-raspberry juice. He was long boarding to work when his car battery died so he grabbed his board and juice to continue onto the job. If you haven’t seen the video yourself, I think it’s just a feel-good vibes kind of video. ⠀
⠀
I was curious to see what the OceanSpray marketing team would do. They have a pretty polished Instagram filled with delicious recipes and perfect photography. In response, Oceanspray sent him a brand new cranberry red truck filled with bottles of juice! “Dreams” is now the top single on iTunes although it was released in 1977 and the tiktok video was viewed 26.2 million times. They have also started the hashtags #dreamschallenge , where you can see renditions of other people long boarding with cranberry juice. ⠀
⠀
It’s crazy to think about how a marketing team can plan so much around social media (paid influencer launches for example) and then randomly some unknown tiktoker creates something truly organic (and probably off brand) and it becomes the biggest content of the year/s for the company. Their sales haven’t been released but when it happens I’ll update this post on my blog, because I’m curious to know! ⠀
⠀
But the packaging just reminded me of a fun internship at Stapley-Hildebrand @shredsf agency in San Francisco. I believe I went in 3x a week and took the bart into the city, and then hopped onto the muni and lived my best student life with my cool big city internship 11 years ago! They were such a fun group to be around and I was very eager to learn and absorb as much as I could. This was my first exposure to packaging design and working with big clients such as Ocean Spray, Trident Gum, and Costco. I’m happy to see my picture is still on the team’s website 😍 www.shredsf.com #goodtimes


Edit: 8/26/2020 These masks have now been made with upgraded FILTI filters due to harmful smoke from the Nor Cal fires.
WANTED: Volunteers to make masks at home in the SF Bay Area (no sewing required, all materials provided.) Read more below:
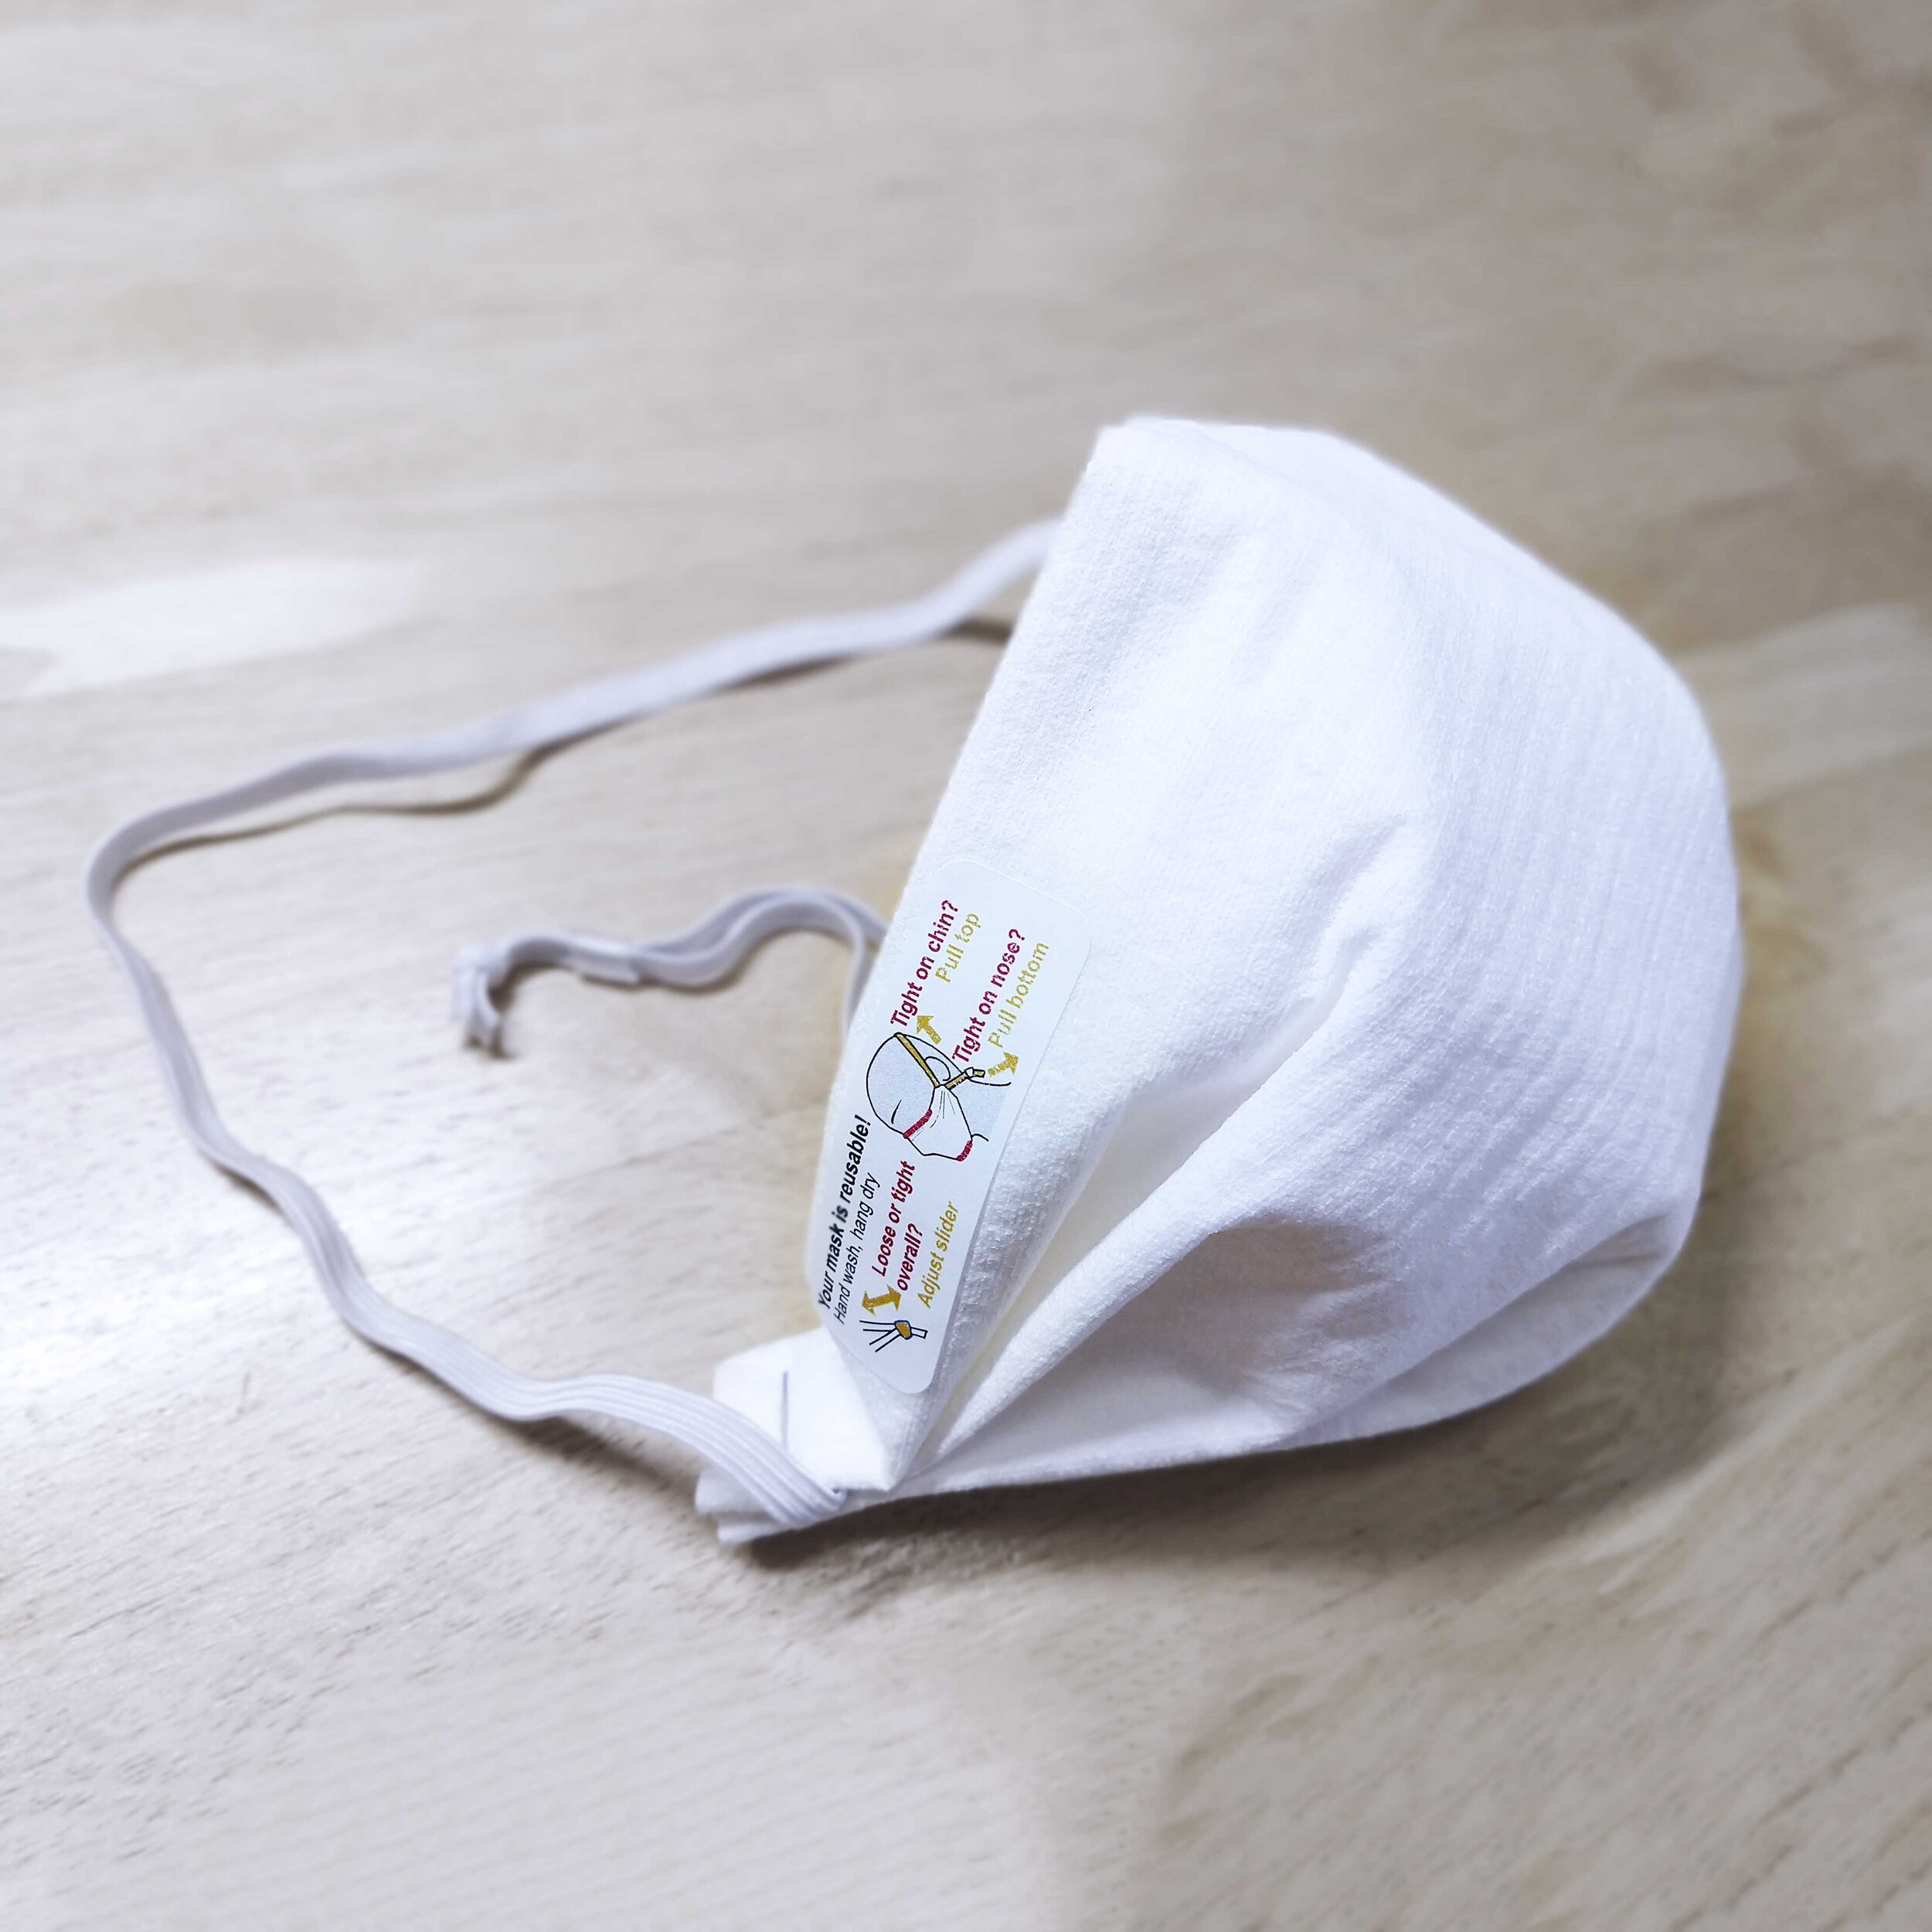
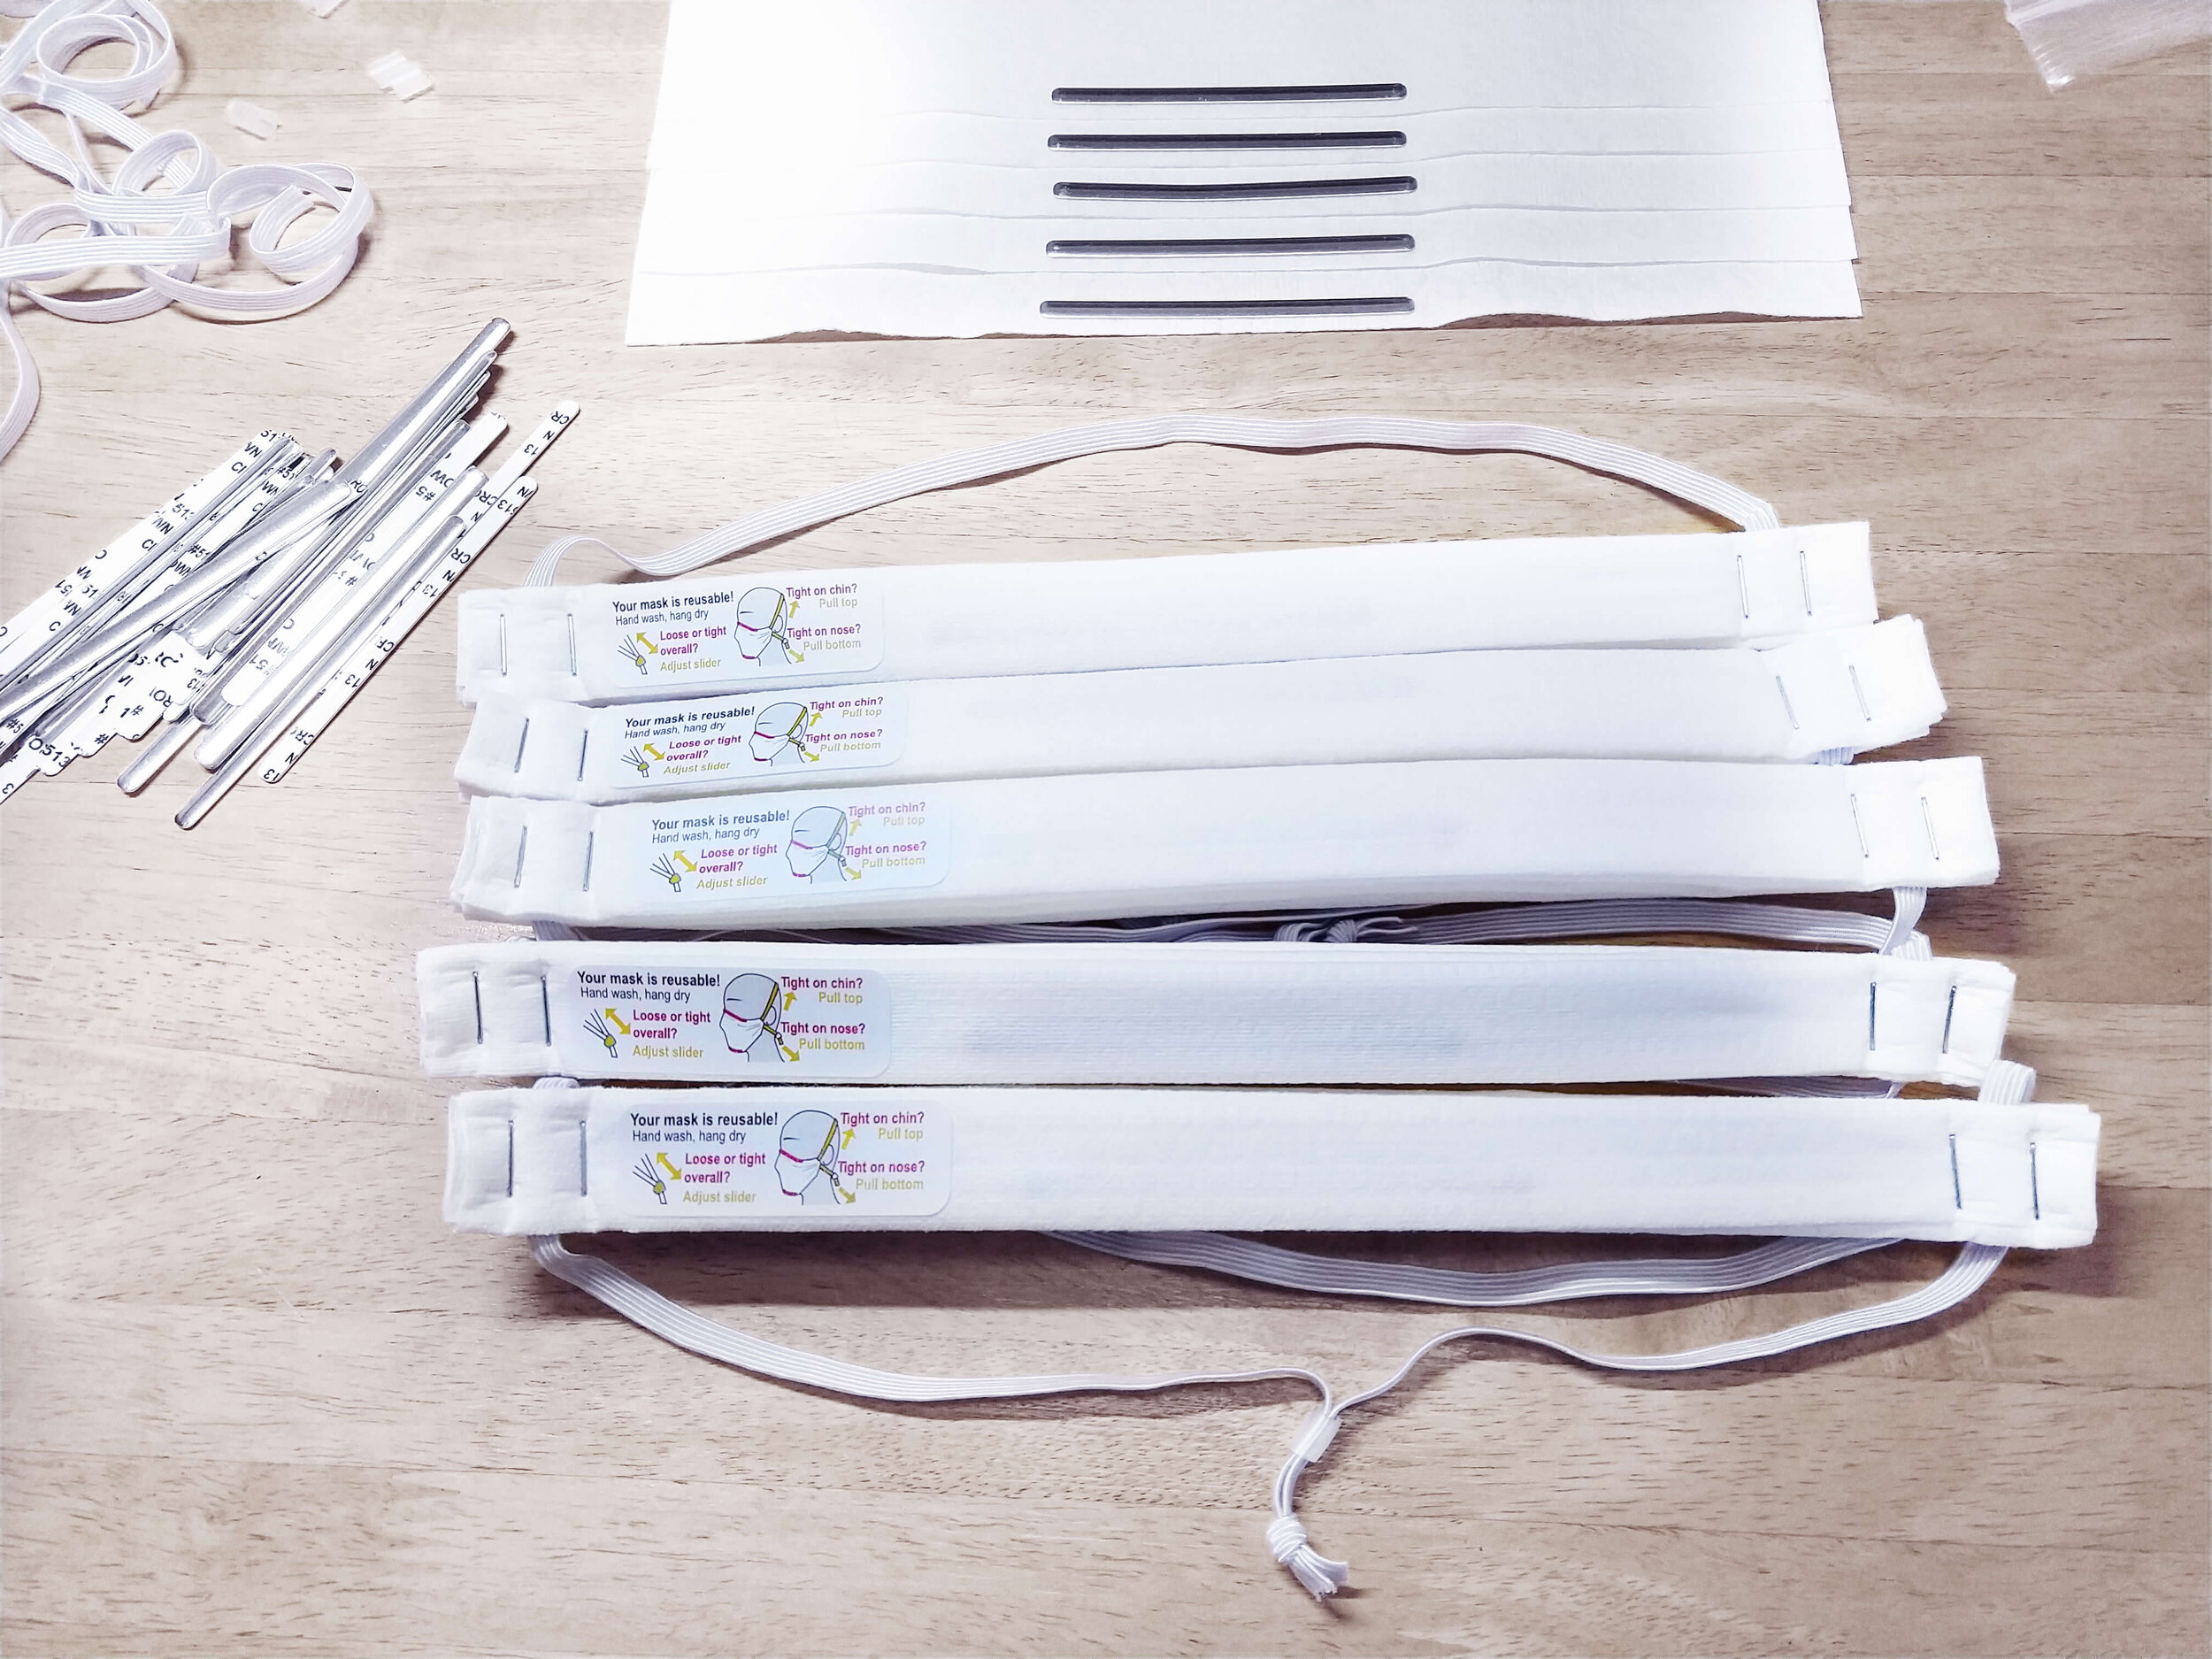
Here is some pro bono label design work for @chumanityc Common Humanity Collective! All my years of instruction manual/line art illustrations made this project so smooth! 😁 ⠀
Since the beginning of the pandemic, my cousin Chris has been making “... low cost, easy-to-produce face coverings to donate to local partner organizations serving our unhoused communities, domestic violence shelters, and anyone else for whom social distancing and procuring personal protective equipment would otherwise be difficult or impossible
He has raised over $6,000 dollars to date and has organized about 60 volunteers to make masks at about .31 cents per mask. Most volunteers can make one of these masks in 3-5 minutes. He also has a cool field-testing video showcasing the effectiveness of shop towel material they use versus other home made mask materials.
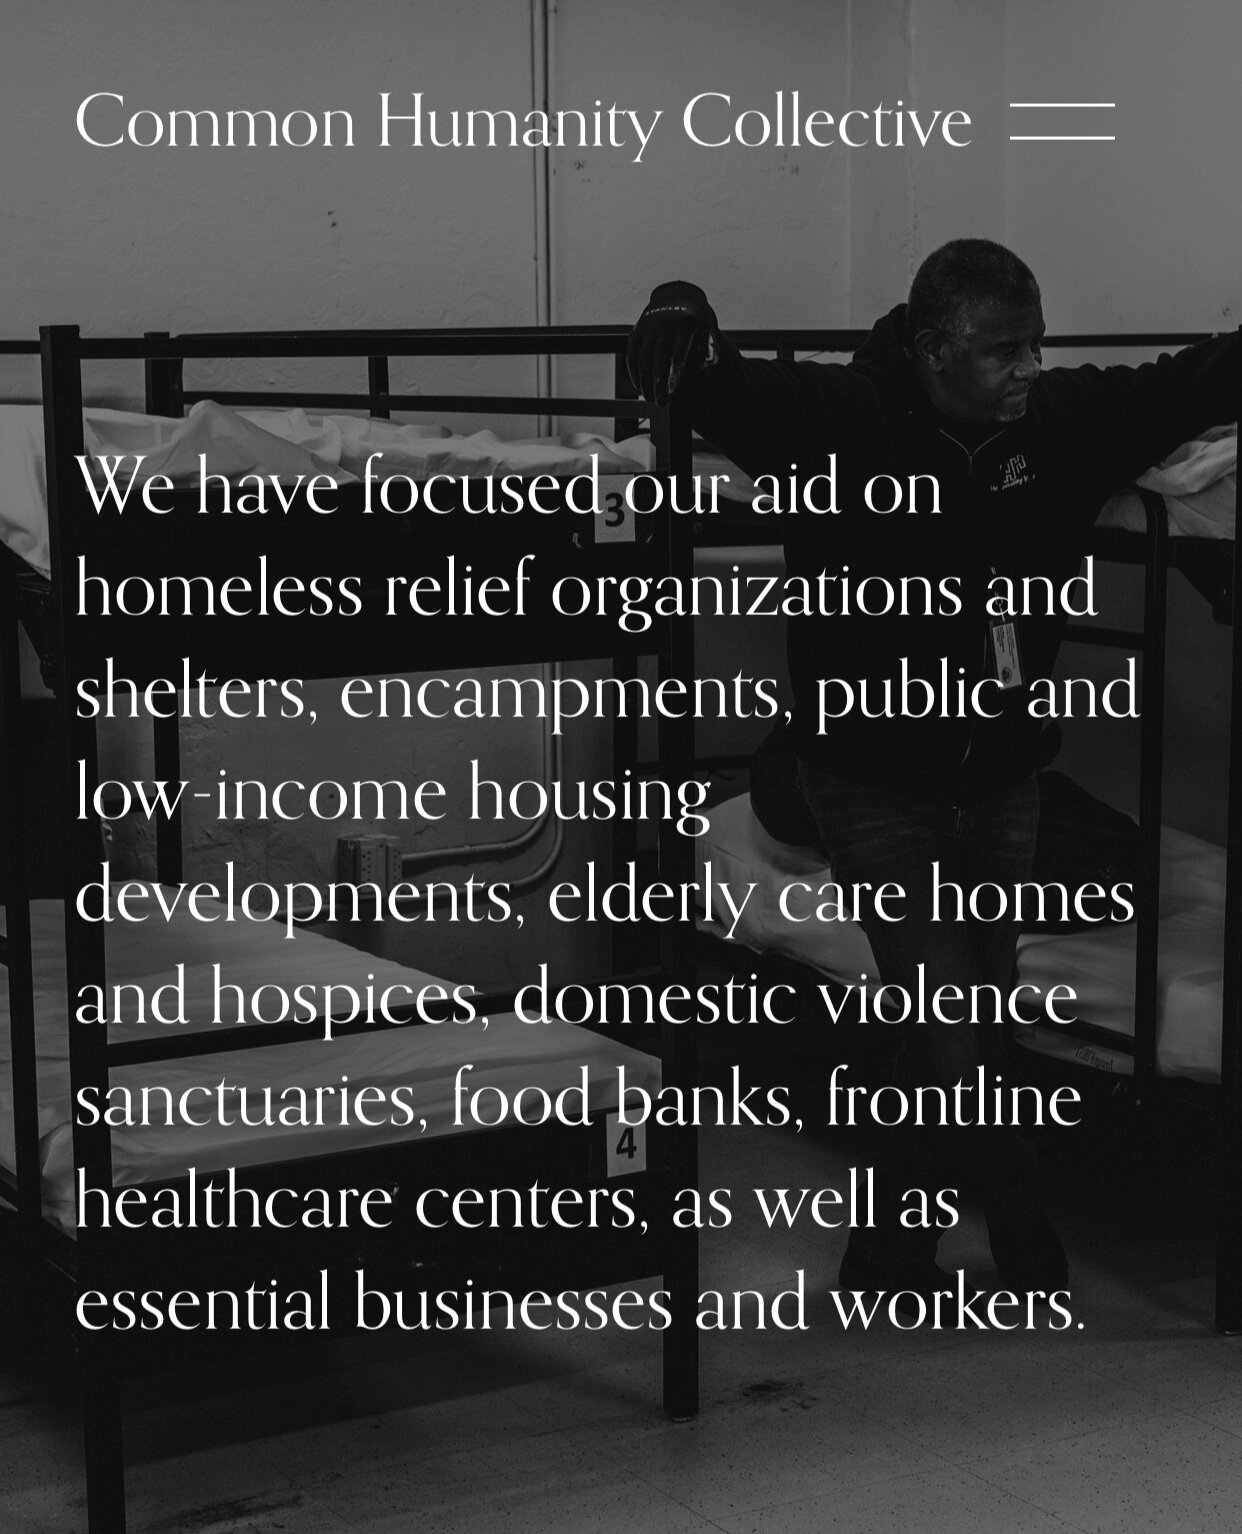
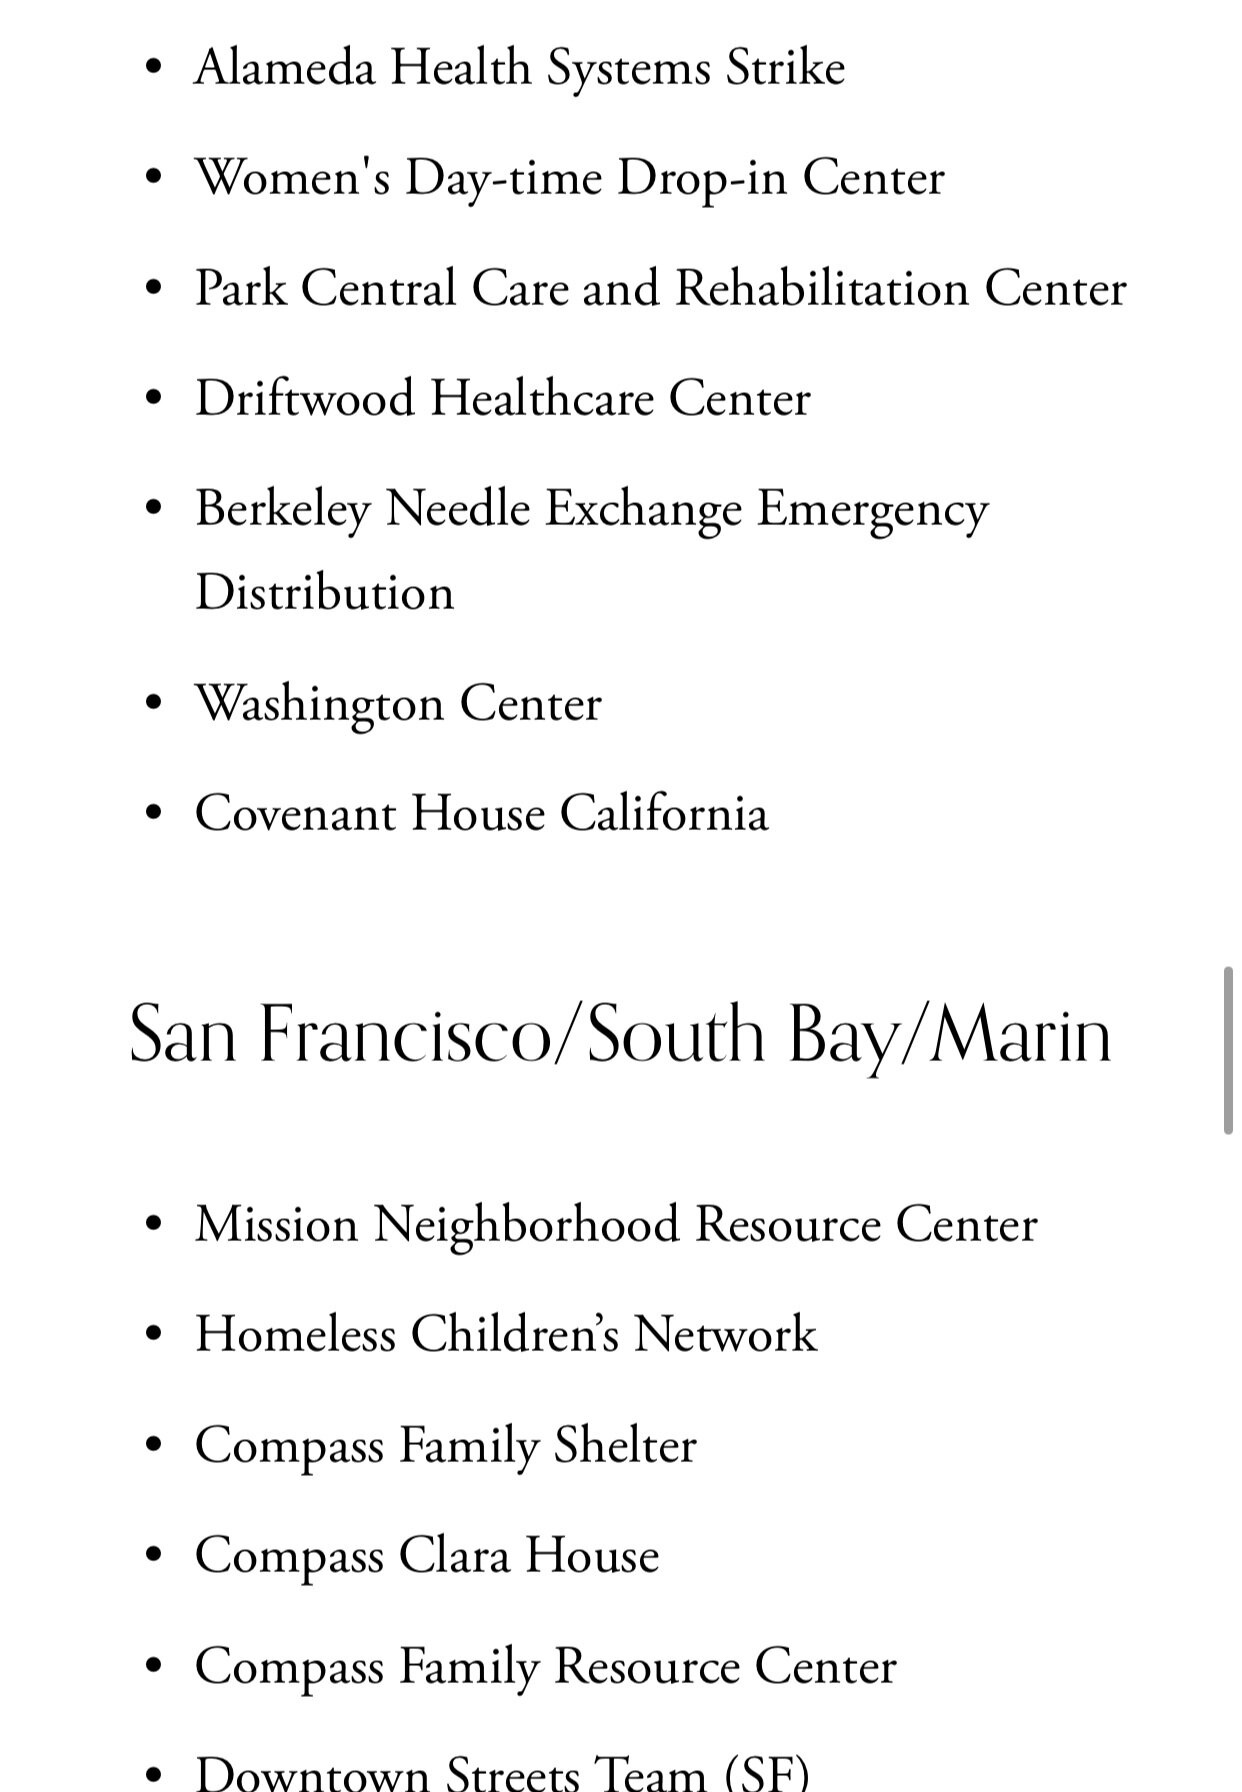
He and his team have started working with @chumanityc to distribute masks, wipes, and hand sanitizers and they’ve delivered to over hundreds of organizations around the Bay Area (check out their impressive list on their website!)
My cousin is now back at work as a researcher (putting his new PhD to good use- go cousin!) and is busier than ever but still needs help!
Please consider donating or sign up to be a Bay Area volunteer to make masks at home via www.commonhumanitycollective.org
Let’s
Connect!